
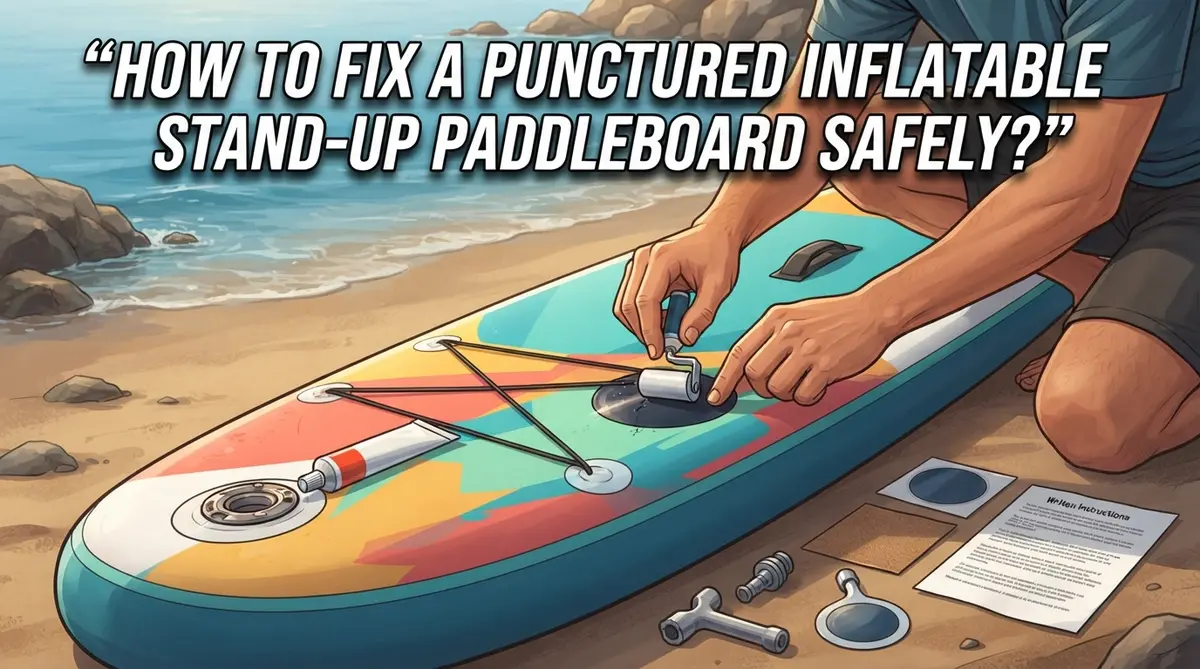
How to Fix a Punctured Inflatable Stand-Up Paddleboard Safely?
A punctured inflatable paddleboard can ruin your day fast. One minute you’re gliding on calm water. The next, your board feels soft and sinks lower.
Don’t panic. Most punctures are fixable at home with simple tools and patience.
This guide walks you through the entire repair process. You’ll learn how to spot the exact type of leak you have. Punctures, valve issues, and seam leaks each need different fixes.
We’ll cover the core steps every repair needs. Cleaning the area, drying it fully, and cutting the right patch size all matter. Skip these steps and your patch won’t hold.
You’ll also learn about valve problems. Sometimes a loose valve base causes air loss, not an actual puncture. A quick tighten with a plastic wrench can solve this instantly.
Seam leaks need extra care. These repairs require adhesive, suction, and a full 24 hour cure time.
By the end, you’ll know exactly how to diagnose and fix your board safely. No guesswork. Just clear steps that get you back on the water.
In a Nutshell
Here’s a quick summary before you start your repair:
-
Find the leak first. Check if it’s a puncture, valve issue, or seam leak. Each needs a different fix.
-
Clean with acetone. Always wipe the damaged area before patching. This step gets skipped often, and it ruins the repair.
-
Dry completely. Moisture stops the adhesive from bonding. Give the area enough time to air dry.
-
Cut and apply your patch. Size it properly to cover the puncture with extra edge room. Press firmly and smooth out air bubbles.
-
Handle valves separately. Try tightening the valve base with the plastic wrench first. Check the cap too, since a loose cap often mimics a leak.
-
Give seam repairs time. Apply adhesive along the seam and use suction to pull it deep into the gap. Clamp it and let it cure for a full 24 hours.
Skipping any of these steps can weaken your repair. Take your time, and your board will be ready for the water again soon.
Diagnosing the Type of Leak: Puncture, Valve, or Seam
Finding the exact leak type saves you time and effort. Your repair method changes completely depending on whether you have a puncture, valve problem, or seam issue.
Start with the soap and water test. Mix dish soap with water in a spray bottle. Spray the entire board surface slowly. Bubbles form immediately at leak spots. Watch carefully for tiny bubbles that appear and grow. Mark each leak location with a permanent marker so you don’t lose track.
Check the valve first. Leaks often come from the valve rather than the board itself. Look at the valve cap and ensure it’s tight. Remove the cap and inspect the valve base for cracks or damage. The valve base sits where the valve connects to the board. If you see water dripping from this area, you’ve found your problem.
Identify puncture locations. Punctures appear as small holes in the board surface. They’re usually obvious once you know where to look. Common spots include the bottom (from rocks or shells) and edges (from impacts). Mark the exact center of each puncture.
Look for seam leaks. Seams run along the edges where two pieces of material join together. Bubbles forming along these lines indicate seam failure. Seam leaks look different from punctures because they leak along a line rather than from a single point.
Document everything. Write down the number of leaks and their locations. Note whether each leak is a puncture, valve issue, or seam problem. This information guides your repair strategy. Different leak types require different repair approaches and materials.
Essential Tools and Materials for a Safe Repair
Before you start fixing your paddleboard, gather the right tools and materials. Having everything ready makes the repair process smooth and prevents mistakes.
Cleaning supplies matter most. You need acetone to wipe the puncture area clean. Acetone removes dirt, oils, and residue that stop adhesive from sticking properly. A clean cloth or paper towel works well for wiping. Some people use rubbing alcohol as an alternative, though acetone works better for tough buildup.
Drying equipment keeps moisture away. After cleaning, you need something to dry the area completely. A dry cloth, paper towels, or even compressed air all work fine. Moisture is your enemy here. If water stays on the surface, the patch won’t bond correctly.
Patch materials are essential. Most repair kits include pre cut patches made from the same material as your board. You’ll also need adhesive specifically designed for inflatable boards. This adhesive is different from regular glue. It creates a waterproof seal that lasts.
Application tools help with precision. A small brush or applicator spreads adhesive evenly across the patch and board. For seam leaks, you might need a suction device like a hand pump or small vacuum. This pulls the sealant deep into the gap where it needs to go.
Curing requires patience. Have clamps or heavy weights available to hold patches in place. A timer helps you remember the 24 hour cure time. Don’t rush this step.
Optional but helpful items include sandpaper for rough edges, a measuring tape for patch sizing, and a notebook to track your repair progress. These extras make the job easier and more professional.
Step-by-Step Guide to Patching a Puncture
Start by preparing your work area. Find a clean, dry, flat surface where you can lay your board. Make sure the temperature stays between 50 and 85 degrees Fahrenheit for the best results. Cold air slows down the adhesive bonding process.
Next, inspect the puncture closely. Look at the size, depth, and exact location on your board. Small punctures near flat areas are easier to repair than ones on edges or curved sections. Mark the spot with a pen so you don’t lose it.
Clean the damaged area thoroughly with acetone. Use a cloth or paper towel to wipe away any dirt, salt, or debris around the puncture. This step is critical because dirt prevents the patch from sticking properly. Wipe in circular motions for about 30 seconds.
Allow the aceture to evaporate completely. Wait at least 5 to 10 minutes before moving forward. Touch the area lightly with your finger to confirm it feels dry. Any remaining moisture will create weak spots in your repair.
Cut your patch to the correct size. The patch should extend at least 1 inch beyond the puncture in all directions. Round the corners slightly to prevent peeling. This extra coverage ensures the adhesive has enough surface area to bond.
Apply the adhesive according to your kit’s instructions. Spread a thin, even layer on both the board and the back of the patch. Press the patch firmly onto the puncture. Use clamps or heavy weights to hold everything in place.
Let the repair cure for the full time recommended, usually 24 hours. Avoid inflating or using your board during this period. Rushing this step weakens the bond and risks another leak.
How to Fix Valve-Related Air Leaks
Valve leaks are one of the most common air loss problems with inflatable paddleboards. The good news is that fixing them is often simpler than patching a puncture. Start by checking your valve cap. Many leaks happen because the cap sits loose or doesn’t seal properly.
Tighten the valve base first. Most boards come with a plastic wrench designed specifically for this task. Locate the valve wrench in your repair kit. Insert it into the valve base and turn it clockwise gently. Do not force it, as this can damage the valve threads. A quarter turn is usually enough to create a proper seal.
After tightening, perform the soap and water test again. Mix dish soap with water in a spray bottle and spray the valve area. Watch for bubbles forming. If bubbles appear, the valve needs more attention.
Check the valve cap security next. Remove the cap completely and inspect the rubber seal inside. Look for cracks, dirt, or damage. Clean the seal with a soft cloth if debris is present. Screw the cap back on firmly but gently.
If tightening and recapping do not stop the leak, the valve core itself may be faulty. Some boards have removable valve cores that you can replace using a valve tool. Check your board’s manual for specific instructions.
Allow time for the fix to work. After tightening or replacing components, wait a few hours before testing again. Sometimes the seal needs time to settle into place. Valve repairs rarely require the 24 hour cure time that puncture patches need. However, patience still matters for a reliable result.
Repairing Seam Leaks with Adhesive and Suction
Seam leaks require a different approach than simple punctures. The adhesive needs to penetrate along the entire seam where two material layers bond together. Start by applying adhesive directly along the leaking seam, working carefully from one end to the other.
Use suction to pull the sealant deeper into the leak. You can use a manual deflater or small vacuum device to create negative pressure. This suction draws the adhesive into the gap between materials where the leak actually occurs. Hold the suction cup firmly over the seam for several minutes to ensure proper penetration.
After applying adhesive with suction, clamp the seam to hold everything in place during curing. You can use C clamps, bar clamps, or even heavy weights positioned along the seam. The pressure keeps the two layers pressed together while the adhesive sets.
Patience is critical for seam repairs. Allow at least 24 hours of curing time before inflating your board again. Some seam repairs benefit from even longer curing periods, especially if the leak was severe or located in a high stress area.
Check your work by performing the soap and water test after the full cure time. Apply soapy water along the entire repaired seam and watch for bubbles forming. If bubbles appear, the repair did not fully seal and you may need to repeat the process.
Seam leaks often indicate wear in that specific area. After repair, monitor the seam during future paddling sessions. If the same seam leaks again within a few weeks, the board may have structural issues requiring professional assessment.
Special Considerations for Edge and Fold Punctures
Edge and fold punctures need special care because these areas experience constant stress and flexing. The curved surfaces make patch adhesion tricky, and improper repair can fail quickly when the board bends.
Start by positioning your board flat on a work surface. Locate the puncture precisely. Run your fingers along edges and fold lines to find the leak. Mark it with a marker so you don’t lose sight of it during cleaning.
Clean the puncture area with acetone as you would any other leak. However, pay extra attention to edges. These areas collect dust and salt residue that prevent adhesive from bonding. Wipe in multiple directions to remove all debris.
Dry the area completely before patching. Edge punctures sit on curved surfaces, so moisture hides in crevices. Use a cloth and let the acetone evaporate for several minutes longer than normal punctures.
Cut your patch slightly larger than you would for a flat surface. Edge punctures benefit from oversized patches because they distribute pressure across a wider area. Round the patch corners to prevent peeling.
Apply adhesive to both the board and patch. Press firmly and hold for at least one minute. The curved surface means the patch may want to lift, so extra pressure helps it settle into place.
Use clamps or weights to secure the patch during curing. Edges and folds continue moving even when the board sits still, so mechanical pressure matters more here. Clamp from multiple angles if possible.
Allow 24 to 48 hours of cure time for edge repairs. These locations bear more stress than flat areas, so extended curing strengthens the bond. Test the repair with soap and water before inflating fully.
Common Mistakes That Compromise Your Repair
Many people rush through puncture repairs and end up with leaks that return within days. Understanding these common mistakes helps you avoid expensive failures.
Skipping the acetone cleaning step is the biggest error. You might think a quick wipe with a cloth is enough, but board surfaces collect dust, salt, and oils. These particles create barriers that prevent adhesive from bonding properly. Acetone dissolves these contaminants and prepares the surface for a strong seal. Always use it, even if you’re in a hurry.
Inadequate drying before patching causes similar problems. Moisture trapped under a patch prevents adhesive from curing correctly. After cleaning with acetone, wait several minutes for complete drying. Check the area with your fingers to confirm it feels completely dry. Humidity matters too—repair your board indoors when possible.
Improper patch sizing leaves edges exposed to water and air. Your patch must extend at least one inch beyond the puncture in all directions. Cutting patches too small is false economy. A slightly larger patch takes no extra time but provides much better protection.
Rushing the cure time is perhaps the most tempting mistake. Many people inflate their boards after just a few hours. Adhesive needs the full 24 hours to reach maximum strength. Premature inflation stresses the patch before it’s ready, causing failure.
Incorrect patch placement on curved areas creates weak repairs. Edges and folds require patches cut larger than those for flat surfaces. Position patches carefully on these curved zones. Use clamps or weights to keep patches pressed firmly during curing.
Avoiding these mistakes transforms your repair from temporary fix into a lasting solution.
Curing Time and Safety Checks Before Reinflating
After you apply the patch or adhesive, the repair needs time to set properly. This waiting period is called curing, and it’s absolutely critical to your repair’s success. Most repairs require at least 24 hours of curing time before you reinflate your board.
During curing, keep your board in a dry location away from direct sunlight. Heat can speed up the process slightly, but extreme temperatures cause the adhesive to cure unevenly. A room temperature environment between 60 and 75 degrees Fahrenheit works best for consistent results.
Don’t move or flex the board while it cures. The patch or sealant needs to bond completely to the material underneath. Any movement disrupts this bonding process and weakens your repair. If you used clamps or weights, leave them in place for the full 24 hours.
After the curing time ends, perform a safety check before reinflating. Inspect the patch edges to make sure they’re sealed completely to the board surface. Look for any gaps or areas where the adhesive didn’t spread evenly. Run your fingers around the patch perimeter to feel for loose spots.
Check valve repairs by tightening the valve base again with the plastic wrench. Make sure the valve cap sits securely in place.
For seam repairs, examine the entire sealed area carefully. The sealant should look uniform and smooth along the seam line.
Once your safety checks pass, you can reinflate your board slowly. Listen for any hissing sounds that indicate air escaping. If you hear air leaking, stop immediately and repeat the soap and water test to locate the problem. A successful repair holds air pressure without any sound or visible bubbles forming.
Final Thoughts
Fixing a punctured inflatable paddleboard is a skill every owner should learn. It saves you money and keeps your board ready for adventure.
The process is simple once you know the steps. Clean the area, dry it completely, apply the right patch, and give it enough time to cure.
Rushing any step leads to weak repairs. Patience truly matters here.
Small mistakes cause big problems later. Skipping the acetone wipe or cutting a patch too small can bring the leak right back.
Take your time with each stage. A slow, careful approach gives you a repair that lasts for years.
Different leaks need different fixes. Valve issues often need a simple tightening, while seam leaks need adhesive and steady suction to seal properly.
Knowing which type of damage you have makes the repair much easier. Always check the valve first before assuming a bigger problem exists.
Edge and fold punctures deserve extra attention. These spots flex constantly, so a strong, well-placed patch keeps the repair secure.
Once you finish the repair, never skip the drying and curing time. This step protects your work and stops leaks from forming again.
A full safety check before reinflating is just as important. It confirms your repair is solid and ready for real use on the water.
With the right tools and a calm approach, fixing a puncture becomes a quick task. Most repairs take less time than people expect.
Your paddleboard can return to the water safely once every step is done right. A well repaired board performs just as well as a brand new one.
Stay consistent with proper care, and your board will serve you for many more paddling seasons ahead.
Frequently Asked Questions
Can I repair a seam leak the same way as a puncture?
No, seam leaks need a different approach. For punctures, you clean and patch the hole. For seam leaks, you apply adhesive along the entire seam where water enters. The key difference is using suction to pull the sealant deep into the leak.
You can use a deflater or vacuum to create suction. This pulls the adhesive into the seam properly. Then clamp the area and let it cure for 24 hours or longer. Seam repairs take more time than simple punctures.
What should I do if the valve is leaking?
Check the valve cap first. Make sure it’s tight and secure. If water still leaks from the valve base, tighten it using the plastic wrench that comes with most boards.
Turn the wrench clockwise to tighten the valve. Don’t over tighten or you may damage it. If tightening doesn’t stop the leak, the valve may need replacement. Some boards allow you to remove and reseal the valve with new sealant.
How long must I wait before using my board again?
Wait at least 24 hours after applying any patch or adhesive. This gives the repair time to cure and bond properly. Some repairs may need 48 hours for complete strength.
During curing, keep your board dry and away from direct sunlight. Don’t move, flex, or pressure the repaired area. After curing, perform a safety check before reinflating.
Why is acetone cleaning so important?
Acetone removes dirt, salt, and oils from the puncture area. These substances prevent the patch adhesive from bonding properly. Without cleaning, your patch may peel off within days.
Wipe the area thoroughly with acetone. Then dry it completely before applying any patch. This single step makes the difference between a repair that lasts and one that fails quickly.

Virat is the founder and lead writer at ActivePlayFinds.com, where he shares honest, in-depth reviews, comparisons, and buying guides to help athletes and sports enthusiasts find the perfect gear. With a deep passion for sports and hands-on experience testing a wide range of products, he is committed to helping readers make smart, confident buying decisions.


