
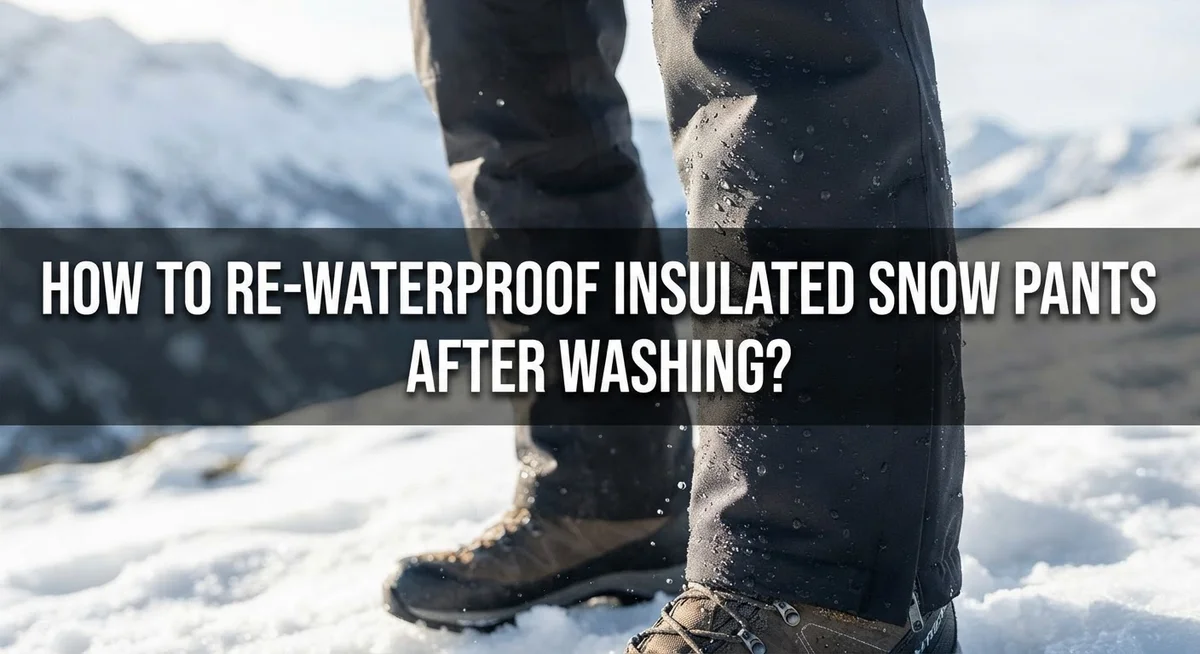
How to Re-Waterproof Insulated Snow Pants After Washing?
Snow pants lose their water resistant power over time. Washing helps clean them, but it can also strip away the protective coating. That’s why re-waterproofing matters after every wash.
Have you noticed water soaking into your pants instead of beading up? This means the Durable Water Repellent (DWR) coating has worn off. Snow and moisture can seep through, leaving you cold and wet on the slopes.
The good news is you can restore this protection at home. It just takes the right steps and a little patience.
This guide walks you through the entire process. You will learn how to prep your pants before washing them. We will cover the best washing methods that protect existing waterproofing.
You will also discover how to apply a new waterproof coating correctly. We will point out common mistakes that damage your gear. By the end, your insulated snow pants will repel water like new again.
Ready to keep your legs dry all winter? Let’s get started.
In a Nutshell
Here is a quick summary of the whole process. Use this as your fast reference guide.
-
Prep your pants first. Empty every pocket and close all zippers. Turn the pants inside out to shield the outer layer.
-
Pick the right soap. Use a specialized technical cleaner instead of regular detergent. Fabric softeners and harsh soaps will ruin the coating.
-
Wash on warm. Run a heavy or warm cycle to clean deep into the fabric. This step also helps strip old, broken down residue.
-
Apply the new coating. Once clean, add a fresh waterproofing treatment. Focus heavily on cuffs and shoulders since these areas wear out fastest.
-
Set it with heat. Dry the pants on low heat to activate the coating. A quick pass with a warm iron helps seal everything in place.
-
Avoid rushing the process. Skipping the specialized soap or using too much heat are the most common mistakes people make.
Following these steps ensures your pants repel water again, just like new.
Why Waterproofing Wears Off and Needs Renewal
Waterproofing on snow pants gradually breaks down because of regular wear and washing. The outer layer that repels water is called a Durable Water Repellent coating, or DWR. This protective shield doesn’t last forever.
Several factors cause waterproofing to wear away. Friction from movement, especially at your shoulders and cuffs, rubs away the coating over time. Dirt and body oils accumulate on the fabric surface and block the water repellent layer from working properly. Heat from dryers and improper washing methods also damage this delicate coating.
Washing your pants with regular detergent is one of the biggest culprits. Standard laundry soap contains ingredients that strip away the DWR coating. Fabric softeners are especially harmful because they leave residue that prevents water from beading up. This is why specialized technical detergent exists for performance fabrics.
The good news is that waterproofing isn’t permanent, but it is renewable. Once you understand what damages the coating, you can restore it. A clean garment is the foundation for successful reapplication because dirt blocks the new waterproofing from bonding properly to the fabric.
Think of it like painting a wall. You wouldn’t paint over a dusty, dirty surface and expect good results. The same principle applies to snow pants. Removing all dirt and old residue allows the fresh waterproofing treatment to adhere correctly and provide maximum protection.
Understanding why waterproofing fails helps you avoid repeating the same mistakes. You’ll make smarter choices during washing and drying. This knowledge transforms the renewal process from guesswork into a straightforward maintenance routine that keeps your pants performing season after season.
Pre-Wash Preparation Steps
Before you wash your insulated snow pants, take time to prepare them properly. This step prevents damage to the fabric and protects any remaining waterproofing.
Start by emptying every pocket completely. Check the thigh pockets, hip pockets, and any inner pockets. Loose items like tissues, coins, or keys can get stuck during washing and damage your machine.
Next, close all closures on your pants. Zip up every zipper fully. Fasten all snaps and velcro strips. Secure any drawstrings or adjustment cords. Closed fasteners prevent snagging and keep the fabric from bunching during the wash cycle.
Turn your pants inside out before washing. This is a crucial step that many people skip. Turning them inside out protects the outer fabric and the existing waterproof coating from direct contact with water and soap. The outer surface takes the most beating during washing, so this simple flip shields it from unnecessary wear.
Check the seams and hems for any damage before washing. Small tears or loose threads can worsen in the washing machine. Repair minor issues now rather than after washing. If seams are separating, consider hand washing instead of machine washing.
Remove any detachable liners if your snow pants have them. Some insulated pants come with removable thermal liners. Take these out before washing since they may require different care.
Inspect the condition of your pants overall. Look for heavy staining or dirt buildup in specific areas. Pre treat stubborn stains with a gentle cleaner before the main wash. This helps the specialized detergent work more effectively throughout the entire garment.
These preparation steps take only a few minutes but make a significant difference in washing results.
Washing Insulated Snow Pants the Right Way
Washing insulated snow pants correctly is the foundation for successful waterproofing. Your first step is choosing the right detergent. Specialized technical cleaners work best because they’re designed to lift dirt without damaging the fabric’s protective layer. Regular laundry soap contains ingredients that strip away existing waterproofing, so avoid it completely.
Use warm water and run a heavy or warm cycle. This setting gives the detergent enough time to penetrate deep into the insulation and outer fabric. The warmth helps dissolve dirt and oils that block waterproofing effectiveness.
Never add fabric softeners or dryer sheets. These products coat your pants and prevent waterproofing treatments from bonding properly. They also leave residue that reduces water repellency.
Pay attention to water temperature. Water that’s too hot can damage insulation, while cold water won’t clean effectively. Warm water strikes the right balance for technical fabrics.
Check your washing machine settings one more time. Make sure you’re not using an extra rinse cycle, which wastes water and detergent without improving results. One standard rinse is sufficient.
After washing, remove your pants promptly. Leaving wet insulated pants sitting in the machine can cause mildew and odors. Squeeze out excess water gently without wringing or twisting the fabric.
Inspect your pants while they’re still wet. Look for any remaining dirt, stains, or debris. If you spot stubborn marks, you can spot clean them now before the pants dry completely.
This preparation step ensures your pants are truly clean. A clean surface allows waterproofing products to bond effectively and last longer.
Step-by-Step Guide to Re-Waterproofing
Your snow pants are now clean and ready for the next phase. The waterproofing process begins immediately after washing, while the fabric is still damp. This timing matters because clean fibers absorb the waterproofing treatment more effectively.
Start by selecting an appropriate waterproofing product designed for technical fabrics. These products come in different forms like sprays, liquids, or aerosols. Read the product instructions carefully since application methods vary. Some products require dilution, while others apply directly.
Apply the waterproofing treatment evenly across the entire garment. Pay special attention to high wear areas like shoulders, cuffs, and the seat. These zones experience the most friction and water exposure. Use smooth, consistent motions to avoid streaking or uneven coverage.
Once you’ve applied the treatment, let it sit for the time specified in the product instructions. This waiting period allows the coating to bond with the fabric fibers. Don’t rush this step, as proper setting time ensures maximum effectiveness.
Heat activation comes next. Use a low heat setting on your dryer or an iron set to a warm temperature. Brief heat exposure activates the waterproofing coating without damaging the insulation inside. Never use high heat, as this can harm the fabric and insulation materials.
Check the seams and zippers after heat treatment. These areas need extra attention since water often finds paths through these spots. Apply additional waterproofing product to seams if needed.
Allow your pants to cool completely before wearing them. The coating continues to set as it cools, creating a stronger water barrier. Your insulated snow pants are now ready to repel water and keep you dry on the slopes.
Drying and Heat-Setting the DWR Coating
After applying your waterproofing treatment, drying and heat setting become critical steps. The DWR coating needs proper activation to bond with your fabric effectively.
Start by removing excess moisture from your pants. Gently squeeze out water without wringing or twisting the material. Lay them flat or hang them in a well ventilated area for initial air drying.
Once your pants are damp but not dripping wet, move to low heat drying. Use your dryer on the lowest temperature setting available. Run the cycle for 20 to 30 minutes maximum. High heat damages the waterproofing coating and insulation, so resist the urge to speed up the process.
Heat setting activates the DWR coating. After machine drying, use a warm iron on low to medium heat. Place a clean cloth between the iron and your pants to protect the fabric. Press gently across the entire surface, paying special attention to high wear areas like shoulders and cuffs.
Keep the iron moving constantly. Don’t hold it in one spot, as this creates hot spots that can melt synthetic fabrics. Work systematically from top to bottom.
The iron’s warmth helps the waterproofing layer adhere permanently to your fabric. This step makes a real difference in how long your waterproofing lasts.
Allow your pants to cool completely before wearing or storing them. This cooling period lets the coating fully set and harden. Your pants need at least two to three hours of cool down time.
Avoid folding or compressing your pants during cooling. Hang them loosely or lay them flat. Once cooled, your snow pants are ready to face the slopes with renewed waterproofing protection.
Targeting High-Wear Areas for Best Results
High wear areas take the most punishment from friction, movement, and moisture exposure. These zones need extra attention when you re-waterproof your snow pants. Focus your efforts on the spots that contact your backpack straps, ski poles, and constant body movement.
Shoulders and upper back experience heavy friction from backpack straps and jacket overlap. Water tends to pool here during intense activity. Apply your waterproofing product with slightly heavier coverage in these zones. Don’t oversaturate the fabric, but ensure complete penetration of the coating.
Cuffs and ankle areas face constant ground contact and snow buildup. These regions get wet frequently and dry slowly. Pay special attention to the inner cuff where melting snow collects. Apply product generously but evenly along the entire cuff perimeter.
Seat and inner thighs endure constant friction from sitting and walking. Moisture wicks here from perspiration and snow contact. Treat these zones with the same care as your shoulders. The fabric may feel slightly stiffer after treatment, which is normal and actually protective.
Zipper runs and seams are natural water collection points. Apply waterproofing along both sides of main zippers and all major seams. These areas need complete coverage since water seeks out these pathways.
Pockets and pocket openings trap moisture and require thorough treatment. Don’t skip inside pocket areas even though they’re hidden. Water can wick through pocket fabric and compromise insulation.
After identifying these high wear zones, work methodically across your entire garment. Use consistent pressure and application technique. This targeted approach maximizes protection where your snow pants need it most. Your pants will shed water more effectively in these critical areas throughout the season.
Common Mistakes to Avoid
Many people make simple mistakes when re-waterproofing snow pants after washing. Understanding what to avoid saves you time and money.
Using the wrong detergent is the biggest error. Fabric softeners and heavy-duty detergents damage the existing waterproof coating on your pants. These products leave residue that blocks new waterproofing from sticking properly. Always choose a specialized detergent made for technical fabrics instead.
Skipping the pre-wash preparation step causes problems too. Don’t wash your pants with items still in the pockets or with zippers left open. Dirt trapped in pockets prevents waterproofing from coating those areas evenly. Closed zippers protect the teeth from damage during the wash cycle.
Heat settings confuse many people during drying. Over-drying your pants at high temperatures actually reduces waterproofing effectiveness. The coating needs gentle heat to activate, not harsh heat that damages fibers. Low heat drying works best for setting the water repellent layer.
Applying waterproofing to dirty pants is another common mistake. A clean garment is absolutely necessary. Dirt and residue block the waterproofing product from bonding to fabric. Your pants must be completely clean before you apply any treatment.
Some people forget about high-wear areas like shoulders, cuffs, and seams. These spots need extra attention since they take the most moisture exposure. Don’t apply waterproofing evenly and then forget these vulnerable zones.
Rushing through drying and cooling also reduces results. Your pants need proper cool-down time after heat treatment. Folding or compressing them while warm prevents the coating from setting correctly. Hang them loosely instead until they reach room temperature completely.
Troubleshooting: When Water Repellency Still Fails
Water repellency can fail even after you’ve completed the re-waterproofing process. Understanding why this happens helps you fix the problem quickly.
The most common cause is incomplete coating coverage. You may have missed certain areas during application. Reapply the waterproofing treatment, paying special attention to seams, zipper lines, and pocket edges. These spots are easy to overlook but critical for protection.
Another reason is dirty fabric underneath the coating. If your pants weren’t completely clean before re-waterproofing, dirt particles block the water repellent from bonding properly. Wash your pants again using specialized detergent. Make sure all soap residue rinses away completely before applying a fresh waterproofing layer.
Insufficient heat activation also causes failure. The DWR coating needs proper heat to set and adhere to fabric fibers. If your iron wasn’t warm enough or you didn’t hold it long enough on each section, the coating won’t activate fully. Repeat the heat setting process on low to medium heat. Move the iron slowly across problem areas.
Check whether you’re using the correct waterproofing product type. Some products work better on specific fabrics or conditions. Read the instructions carefully to ensure compatibility with your pants material.
Fabric damage from washing can prevent waterproofing from working. If you used fabric softeners or harsh detergents, the outer fabric may have deteriorated. In this case, the waterproofing product cannot bond effectively no matter how well you apply it.
Finally, water may be pooling rather than beading. This suggests uneven application or low spots in your garment. Apply waterproofing again, ensuring even coverage across all surfaces. Test by sprinkling water on treated areas. Water should bead up and roll off immediately.
Final Thoughts
Re-waterproofing your snow pants is not a hard job. It just needs the right steps in the right order.
Clean fabric matters more than anything else. Dirt and residue block the coating from bonding. Always wash your pants properly before you apply any treatment.
The detergent you choose makes a big difference. Harsh detergents and fabric softeners strip away protection. A specialized cleaner protects the fabric and keeps the DWR coating intact.
Drying and heat activation are just as important as the product itself. Low heat sets the coating without damaging the fabric. A warm iron can help activate the repellency, but you must use it carefully.
Pay attention to high-wear zones each time you treat your pants. Shoulders, cuffs, seams, and pockets face the most exposure. These areas need extra focus to keep water out.
Think of re-waterproofing as regular maintenance, not a one-time fix. Snow pants lose their repellency over time, especially with frequent washing. Reapplying the coating keeps them ready for the next snowy adventure.
If you notice water soaking in instead of beading up, don’t ignore it. This is a clear sign the coating needs attention. Catching this early prevents bigger problems on the slopes.
Following these steps helps your pants perform like new. You protect your investment and stay dry in wet conditions. A little care goes a long way in extending the life of your gear.
With patience and the right approach, you can keep your insulated snow pants working well for many seasons. Proper washing and re-waterproofing make all the difference between staying dry and getting soaked.
Frequently Asked Questions
How often should I re-waterproof my snow pants?
Re-waterproof your pants every 2 to 3 washes. The waterproofing coating wears down with each wash cycle. Check if water beads up on the fabric. If water soaks in instead of rolling off, it’s time to reapply the coating.
High-wear areas like shoulders and cuffs need attention more often. These zones take the most abuse during winter activities.
Can I re-waterproof pants without washing them first?
No. You must wash your pants first. Dirt and residue block the new coating from bonding to the fabric properly.
Even light dirt reduces how well the waterproofing works. A clean surface lets the product stick evenly across the entire garment.
What temperature should I use when drying after re-waterproofing?
Use low heat only. Dry just enough to set the waterproofing layer. High heat can damage the coating before it fully activates.
After drying, use a warm iron briefly on the treated areas. This heat activation helps the coating bond permanently to the fabric. Keep the iron moving and avoid holding it in one spot too long.
Why is my water repellency failing even after re-waterproofing?
Several reasons cause this. Incomplete coverage is common, especially on seams and cuffs. You may have missed high-wear zones during application.
Dirty fabric underneath the coating also prevents proper bonding. Make sure you cleaned the pants thoroughly before treating them. Additionally, insufficient heat activation stops the coating from setting correctly. Follow the drying and iron steps carefully each time.

Virat is the founder and lead writer at ActivePlayFinds.com, where he shares honest, in-depth reviews, comparisons, and buying guides to help athletes and sports enthusiasts find the perfect gear. With a deep passion for sports and hands-on experience testing a wide range of products, he is committed to helping readers make smart, confident buying decisions.


