
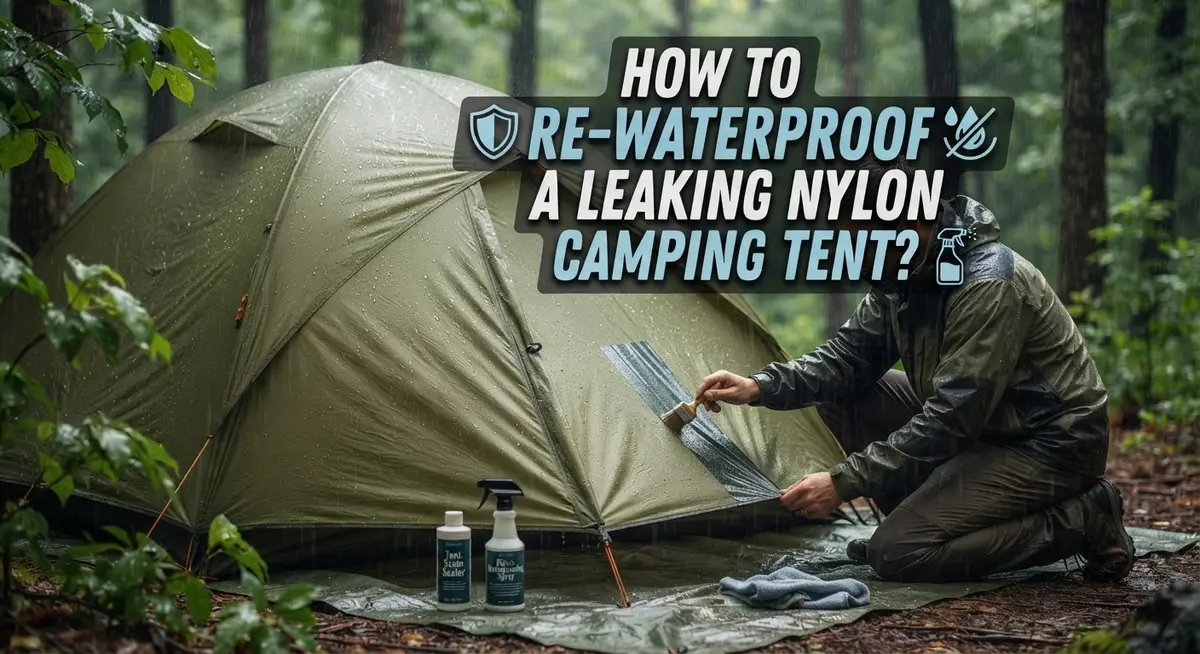
How to Re-Waterproof a Leaking Nylon Camping Tent?
Rain drums on your tent. You feel a cold drop land on your sleeping bag. Your once trusty nylon tent has started leaking, and it’s ruining your camping trips.
The good news? You don’t need a new tent. Most leaks happen because the waterproof coating has worn off or the seams have failed.
This guide shows you how to bring your tent back to life. We will explain why nylon tents lose their water resistance over time. You will learn how to clean the fabric properly before any treatment.
We also cover sealing seams, since this is where most leaks start. You will discover how to apply a fresh waterproof coating that actually works.
Along the way, we point out common mistakes campers make. Skipping the cleaning step or rushing the drying process can ruin your efforts.
By the end, you will know exactly how to restore your tent’s waterproofing. Your gear will be ready for the next storm, and you will save money by fixing what you already own.
In a Nutshell
Here’s the quick rundown before you start:
-
Clean the tent first. Dirt and grime stop new coatings from sticking. A wipe with rubbing alcohol works well.
-
Set up in dry weather. You need the tent fully pitched and dry before you start any treatment.
-
Fix the seams. Most leaks start here. Reseal them with a proper seam sealer for lasting results.
-
Restore the DWR coating. This is the layer that makes water bead up and roll off the fabric.
-
Apply a urethane coating spray. This step protects the fabric itself and adds another layer of defense against rain.
-
Let everything dry completely. Rushing this step is a common mistake that ruins the whole effort.
-
Patch any holes or tears. Use gear tape or a patch kit for small damage spots.
Follow these steps in order. Skipping any of them can leave your tent leaking again on your next trip. Proper drying time matters just as much as the products you use.
Why Nylon Tents Lose Their Waterproofing Over Time
Nylon camping tents lose their waterproofing for several reasons. The main culprit is UV damage from sunlight. When your tent sits in the sun, the ultraviolet rays break down the protective coating on the fabric.
Weather exposure plays a huge role too. Rain, wind, and temperature changes all wear away at the DWR (Durable Water Repellent) layer. This coating is what makes water bead up and roll off instead of soaking in.
Dirt and debris also speed up the damage. Dust, pollen, and grime build up on the fabric surface. They trap moisture and prevent the waterproof layer from doing its job properly.
Seams are especially vulnerable. These stitched areas are stress points where the fabric gets pulled tight. Water naturally finds its way to seams because they create tiny gaps in the fabric. Once water enters through a seam, it spreads inside your tent fast.
General wear and tear matters too. Every time you set up and pack down your tent, the fabric flexes. This constant movement breaks down the protective coating gradually over time.
Age is inevitable. Even well maintained tents lose their waterproofing after several years of use. The coating doesn’t last forever, no matter how careful you are.
Storage conditions affect longevity as well. Tents stored in hot, damp places deteriorate faster than those kept cool and dry. Moisture trapped inside the tent bag can cause the coating to degrade.
The good news? You can restore your tent’s waterproofing. The process is straightforward and costs far less than buying a new tent. Understanding why the coating fails helps you prevent future problems and extend your tent’s lifespan significantly.
Signs Your Tent Needs Re-Waterproofing
Your tent will show clear warning signs before a major leak ruins your camping trip. Pay attention to these indicators so you can act quickly.
Water stains on the interior fabric are often the first clue. These appear as dark patches or discoloration, usually near seams or the tent floor. The stains mean water is already penetrating the outer layer, even if you haven’t noticed actual dripping yet.
Visible mold or mildew growth signals moisture problems. This happens when water sits on fabric for too long. Mold indicates your tent is retaining moisture instead of shedding it like it should.
Small water droplets forming inside during light rain are a major red flag. Your tent’s waterproof coating has likely worn away in those spots. This happens faster in high stress areas like seams and corners.
Wet sleeping bags or gear after a rainy night means leaks are active. You don’t need to wait for puddles to form inside. Even dampness spreading to your belongings tells you the waterproofing has failed.
Check your seams closely during setup. Look for areas where stitching shows or where the fabric appears thin. Seams are the most common leak sources because water travels along stitched lines.
Listen for dripping sounds during rain. Water hitting fabric sounds different from actual leaks. Dripping means water is pooling and finding weak spots.
Fabric that feels stiff or crusty has lost its water repellent coating. Run your hand across the exterior. The coating should feel smooth and slightly slippery when working properly.
Catching these signs early saves you from sleeping in a wet tent. Once you spot any of these warnings, your tent needs immediate attention and re waterproofing treatment.
Tools and Materials You’ll Need
Before you start re-waterproofing your nylon tent, gather everything you need. Having the right tools and materials on hand makes the job faster and easier.
Cleaning supplies are your first priority. You’ll need a soft brush or sponge to remove dirt and debris from the tent fabric. Rubbing alcohol works well for stubborn stains and helps prepare the surface. A bucket of clean water is essential for rinsing. Mild soap can help lift grime without damaging the nylon.
Repair materials matter if your tent has damage. Gear tape is useful for quick fixes on small tears and seam leaks. A patch kit gives you options for larger holes. Make sure the patches match your tent’s material type.
Application tools help you apply coatings evenly. A spray applicator or garden sprayer distributes waterproof coating across the fabric. Some people prefer a roller for more control. Have clean cloths or rags ready for wiping and drying.
Protective items keep you safe during the process. Gloves protect your hands from chemicals and dirt. Work in a well-ventilated area, so consider a respirator mask if you’re sensitive to fumes.
Drying essentials are critical. You need a dry, shaded location where your tent can sit undisturbed for several hours. A clothesline or tent frame helps air circulate underneath. Don’t rush this step because incomplete drying ruins the waterproof coating.
Optional items make work easier. A measuring cup helps mix solutions correctly if needed. A checklist keeps you organized through each step. Having everything ready prevents frustration and ensures better results.
Step-by-Step: Cleaning and Preparing the Tent Fabric
Start by setting up your tent in a dry, shaded area. You need good airflow around the fabric so moisture can escape easily. Never work on a wet tent because water trapped inside will prevent proper cleaning and drying.
Use a soft brush to remove loose dirt, dust, and debris from both the inside and outside surfaces. Work gently to avoid damaging the nylon fibers. Pay special attention to seams, corners, and crevices where dirt accumulates.
Mix warm water with mild soap in a bucket. Use a soft cloth or sponge to wipe down the entire tent fabric. This removes stubborn grime that blocks water repellent coatings from working properly. Rinse thoroughly with clean water to eliminate all soap residue.
For stubborn stains or mold spots, use rubbing alcohol on a cloth. Dab the affected areas gently. This step kills mold spores and removes mineral deposits that regular soap cannot handle.
Inspect the entire tent carefully while cleaning. Look for small holes, tears, or damaged areas. Mark these spots so you can patch them before applying waterproof coating. Small damage spots worsen quickly once water gets inside.
Pay extra attention to seams and stress points. These areas need thorough cleaning because they’re where leaks typically start. Use an old toothbrush to scrub along seam lines gently.
Allow the tent to dry completely in sunlight. This usually takes 2 to 4 hours depending on humidity and temperature. Never rush this step. Moisture trapped inside fabric prevents coatings from bonding properly and creates adhesion problems.
Once dry, your tent is ready for repair work and waterproof coating application. Proper preparation makes the entire re-waterproofing process much more effective and longer lasting.
Step-by-Step: Sealing Seams and Repairing Small Tears
Sealing seams is where most tent leaks happen. Water finds its way through these weak points faster than anywhere else on your tent. Start by examining every seam carefully while your tent is still set up and dry.
Look for visible gaps or cracks along the seam lines. Run your finger along each seam to feel for separation. Pay special attention to corners and stress points where fabric bends most. These areas fail first because they endure constant tension.
For small tears in the nylon fabric, use a patch kit designed for tent repair. Clean the damaged area with rubbing alcohol and let it dry completely. Apply the patch firmly, pressing down for at least one minute to ensure good adhesion. Make sure the patch extends at least one inch beyond the tear in all directions.
Seam sealing requires a different approach. Apply seam sealer directly into the seam gap using the applicator provided. Work slowly along the entire seam length. The sealer fills cracks and creates a waterproof barrier that water cannot penetrate.
Allow seam sealer to cure for the full time recommended before you test it. This usually takes 24 hours. Rushing this step defeats the purpose and leaves your tent vulnerable to leaks.
For gear tape repairs, clean the area thoroughly first. Cut the tape to size and apply it directly over the damage. Press firmly to remove air bubbles. Tape works best for small punctures and temporary fixes, though it’s less permanent than patch kits.
Don’t skip this critical step. Sealed seams and repaired tears form the foundation of your waterproofing restoration. Without addressing these issues first, any coating you apply will fail quickly.
Step-by-Step: Applying DWR and Urethane Coatings
Once your tent is clean and seams are sealed, you’re ready to apply protective coatings. This step restores your tent’s water repellent properties and creates a barrier against moisture.
Start by choosing between DWR spray coatings and urethane based products. DWR coatings restore the original water repellent finish on nylon fabric. Urethane coatings provide a thicker, more durable layer of protection. Many tents benefit from both treatments applied in sequence.
Before applying any coating, ensure your tent is completely dry and set up in a well ventilated area. Open all windows and doors to allow air circulation. Apply coatings in thin, even layers rather than one thick coat. Thick applications can feel sticky and may not dry properly.
Spray coatings work best when applied in a sweeping motion across the fabric. Hold the applicator about 6 to 8 inches away from the surface. Move steadily to avoid pooling or dripping. Pay special attention to seams and stress points where water collects.
For brush on urethane coatings, use smooth strokes following the fabric grain. Work in small sections to maintain wet edges and prevent lap marks. Allow each layer to dry according to the manufacturer’s instructions before applying additional coats.
Most coatings require 24 to 48 hours of complete drying time. Don’t set up or use your tent until fully cured. This waiting period is essential for the coating to bond properly with the nylon. Rushing this step reduces the effectiveness of your waterproofing work.
Test your tent during light rain before your next camping trip to confirm the coating is working correctly.
Common Mistakes That Ruin a Re-Waterproofing Job
Many people rush through re-waterproofing and end up with a tent that still leaks. Understanding what goes wrong helps you avoid these costly mistakes.
Skipping the cleaning step is the biggest error. You might think a quick rinse is enough, but dirt, algae, and debris block waterproof coatings from bonding properly to the nylon. The coating sits on top of the grime instead of penetrating the fabric. Your tent appears waterproofed but fails after the first rain.
Not drying completely between steps ruins everything. If you apply seam sealer to damp fabric, it won’t cure correctly. If you spray coating onto wet nylon, the moisture prevents adhesion. Each layer needs full drying time before the next step begins.
Ignoring seams entirely is another common mistake. People focus on coating the flat fabric panels but forget that seams are where water actually enters. A shiny new coating on the body means nothing if water travels straight through unsealed seams. Seams need specific attention with seam sealer before any coating application.
Applying coatings too thickly backfires. One heavy coat seems faster than multiple thin layers, but thick applications don’t dry evenly. They can crack, peel, or create stiff patches that tear easily. Thin, even coats dry properly and flex with the fabric.
Using wrong products together causes problems. Some coatings don’t work well with certain seam sealers or DWR treatments. Check compatibility before mixing different brands or types.
Inadequate ventilation during drying extends the process and reduces coating effectiveness. Work in open air with good airflow, not in enclosed spaces or humid conditions.
Maintaining Water Repellency for Future Trips
Your tent’s water repellency fades over time. Regular maintenance keeps your shelter dry on future camping trips. Refresh the DWR coating every season or two to maintain peak performance.
Start by setting up your tent in a dry location. This position lets you inspect the entire surface and apply treatments evenly. Clean the fabric thoroughly before any maintenance work begins. Remove dirt, debris, and old coating residue using a soft brush and mild soap solution.
Check all seams carefully during each trip. Seams are where water travels and leaks develop. Look for any visible gaps, cracks, or areas where the seam sealer has worn away. Address these spots immediately before they become major problems.
Apply a fresh DWR coating spray annually or after heavy use. Follow the manufacturer’s instructions for application and drying time. Most coatings need 24 to 48 hours of complete drying. Ensure good ventilation during this period.
Store your tent in a cool, dry place between trips. Moisture and heat damage the fabric and weaken the waterproof coating. Keep the tent loosely packed to allow air circulation inside.
Inspect your tent before each camping season. Look for worn spots, faded areas, and compromised seams. Early detection prevents leaks during your adventure.
Test your tent during light rain before heading into the backcountry. This simple step confirms your waterproofing work is effective. If water seeps through, identify the problem area and reapply coating or reseal seams as needed.
Regular maintenance extends your tent’s lifespan significantly. A few hours of preventive care saves you from expensive replacements and ruined camping trips.
Final Thoughts
Re-waterproofing your nylon tent is a simple skill every camper should learn. It saves money and keeps your gear ready for the next adventure.
The process does not require special expertise. It just needs patience and attention to detail.
Think about the time you invest now. It pays off during your next storm on the trail.
A leaking tent ruins trips fast. Wet sleeping bags and damp gear make camping miserable.
Your tent protects you from the elements. Taking care of it means it will take care of you.
Regular maintenance beats emergency repairs every time. Check your tent before each season starts.
Do not wait until you notice leaks mid trip. By then, it is too late to fix things properly.
Small efforts add up over time. A quick coating refresh each year keeps your tent performing well.
Remember that different tents need different care. Older tents may need more frequent treatment than newer ones.
Weather conditions also affect how often you should reproof your gear. Tents used in heavy rain need more attention.
Your tent is an investment. Treating it well means it lasts many more seasons.
The steps are straightforward once you understand them. Cleaning, sealing, and coating work together as a system.
Skip one step and the whole process fails. Follow each stage carefully for the best results.
Keep extra supplies on hand for quick fixes. This helps when you notice small issues before bigger trips.
Camping should be enjoyable, not stressful. A dry tent means better sleep and more energy for adventures.
Take pride in maintaining your own gear. It builds confidence and saves money over buying new equipment.
With the right approach, your tent can last for many years. Keep it clean, sealed, and properly coated for lasting protection.
Frequently Asked Questions
Why do tent seams leak even after I apply waterproof coating?
Seams are the weak points on your tent. Water travels along these stitched lines and finds tiny gaps. A coating spray alone won’t fix seams that are already failing. You need to seal them separately with seam sealer or gear tape before applying any waterproof spray. The coating protects the fabric, but seams need their own attention.
Can I waterproof my tent while it’s set up outside?
Yes, you can reproof a tent outdoors if conditions are dry and calm. Set it up in a shaded spot away from direct sunlight. This lets you inspect all areas and reach every surface easily. Make sure the air temperature stays above 50 degrees Fahrenheit for the coating to cure properly. Wind can also affect drying time, so pick a calm day if possible.
How often should I re-waterproof my nylon tent?
Apply a fresh DWR coating once per year or after heavy rain trips. If you camp frequently in wet conditions, reproof every 6 months. Check your tent’s water repellency by pouring water on the fabric. If droplets bead up and roll off, the coating is still working. If water soaks in or spreads out flat, it’s time to reproof.
What’s the difference between sealing seams and applying waterproof coating?
Seam sealing fills the gaps where thread punctures the fabric. Waterproof coating creates a protective layer across the entire nylon surface. Both steps matter. Sealed seams stop water from traveling through stitched lines. The coating prevents water from soaking through the fabric itself. Do seams first, then apply coating for best results.

Virat is the founder and lead writer at ActivePlayFinds.com, where he shares honest, in-depth reviews, comparisons, and buying guides to help athletes and sports enthusiasts find the perfect gear. With a deep passion for sports and hands-on experience testing a wide range of products, he is committed to helping readers make smart, confident buying decisions.