
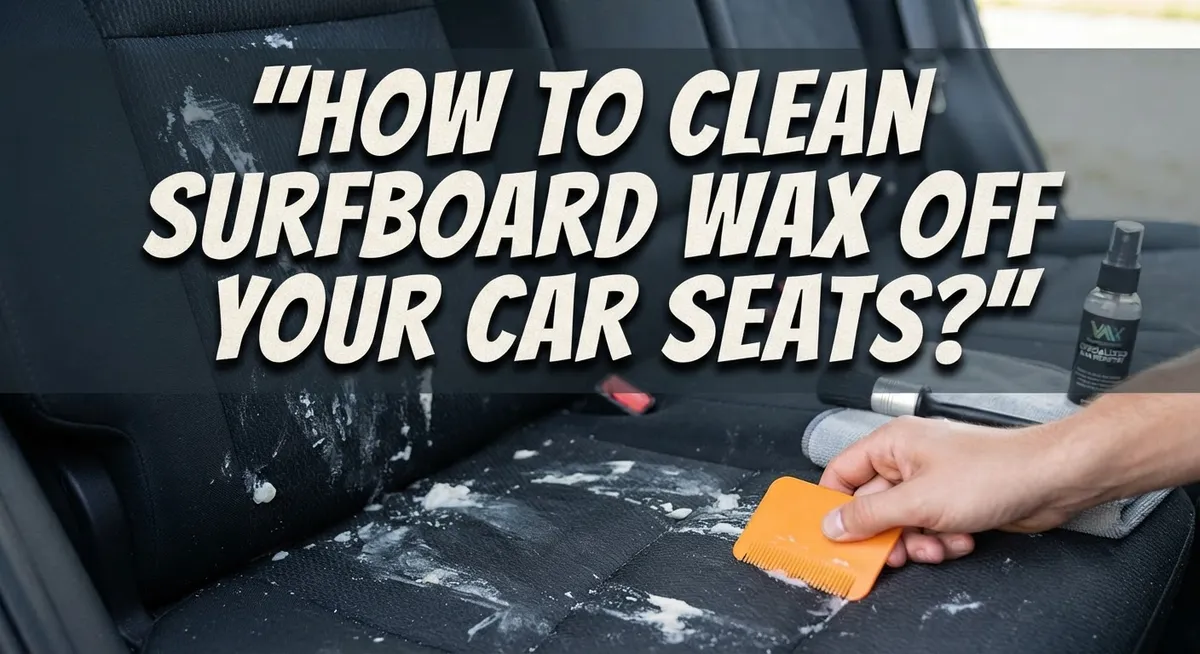
How to Clean Surfboard Wax Off Your Car Seats?
Surfboard wax has a sneaky way of ending up where you least expect it. One minute you are loading your board after a great surf session. The next, you spot a sticky patch on your car seat.
This wax does not wipe off with a simple swipe. It clings to fabric and leather alike. It can leave stains that seem impossible to remove.
But do not worry. Getting wax off your car seats is easier than you think.
You just need the right approach and a little patience.
This guide walks you through simple, effective methods to tackle wax stains. You will learn how heat softens wax for easy removal. We will show you the best way to use cloths and hot water to lift residue.
You will also discover common mistakes that make wax removal harder. Plus, we share tips to protect your seats before your next surf trip.
By the end, you will know exactly how to clean surfboard wax off your car seats. Your car will look fresh and stain free again, ready for many more adventures ahead.
In a Nutshell
Here’s a quick recap to help you get that wax off your car seats fast.
-
Heat is your best friend. Use a hairdryer or iron to soften the wax before you try to remove it. Cold wax just smears and sticks more.
-
Cloth does the heavy lifting. Place a thick rag over the wax and soak it with near boiling water. The heat pulls the wax right onto the fabric.
-
Patience beats scrubbing. Let the cloth sit for a few minutes so the wax fully transfers. Rushing this step often leaves residue behind.
-
Scrape first, melt second. Skipping the initial scrape makes the whole process harder and messier.
-
Prevention saves time. Always lay a towel on your seats before loading boards. This simple habit stops wax stains before they start.
-
Oily stains need extra care. Heavy wax buildup with oils may need a couple of rounds of heat and cloth treatment.
Follow these steps, and your car seats will look clean and wax free in no time.
Why Surfboard Wax Sticks to Car Seats
Surfboard wax sticks to car seats because of its chemical makeup and how it responds to temperature changes. Wax is designed to grip your board and stay put in water and sun. This same stickiness works against you when it lands on fabric.
The wax melts when your car heats up. Warm seats soften the wax and make it bond deeper into the fabric fibers. The material of your car seats acts like a sponge, pulling the wax into every thread. Once it cools down, the wax hardens again and locks in place.
Wax has oils mixed into its formula. These oils make the wax flexible and water resistant on your board. When wax touches your seat fabric, those oils soak into the material. This creates a stain that water alone cannot lift away. The combination of hardened wax plus oily residue makes removal tricky.
Car seats are especially vulnerable because they have textured surfaces. Wax particles get trapped in the weave and texture of the fabric. Smooth surfaces would be easier to clean, but most car seats have a nubby or ridged design that catches wax debris.
Heat plays a big role in how wax sticks. Your car’s interior warms up during the day, especially if you park in the sun. This heat softens fresh wax and helps it settle deeper into the seat material. The longer the wax sits on warm fabric, the more it bonds.
Time also matters. Fresh wax is easier to remove than old wax. Wax that sits on your seats for days hardens completely and becomes more stubborn. The longer you wait, the deeper it penetrates the fabric fibers.
Understanding why wax sticks helps you remove it faster. You need to reverse the process by using heat to soften it again, then lifting it away before it cools and hardens once more.
Tools and Materials You’ll Need
Getting the right tools makes wax removal much easier and faster. You don’t need expensive equipment, just items you likely have at home already.
Heat sources are your foundation. A hairdryer works well for gentle, controlled heating. An iron also works if you place a cloth barrier between the iron and your seat. Both options let you soften the wax without damaging the fabric underneath.
You’ll need thick cloths or rags for the actual removal process. Old towels, cotton rags, or even thick cotton t-shirts work perfectly. These materials absorb the melted wax as it transfers from your seat. Have several cloths ready since you may need more than one for heavy buildup.
Water is essential for the soaking step. You don’t need boiling water directly from the stove, but water heated until it’s very hot works best. A kettle or pot helps you get water to the right temperature safely. Some people use a spray bottle to apply hot water, while others soak cloths first then apply them.
Scraping tools help with initial removal before heating. A plastic scraper, old credit card, or even a wooden spoon edge removes loose wax chunks. Avoid metal scrapers since they can damage seat fabric and stitching.
Protective barriers prevent future problems. Keep towels or blankets in your car specifically for transporting boards. These act as shields between wax and your seats.
Optional items include a vacuum for debris and mild soap for final cleaning. Some people keep rubbing alcohol nearby for stubborn residue, though it’s not always necessary.
The key is having heat, absorbent cloth, and hot water ready before you start. This combination handles most wax situations without special or expensive products.
Step-by-Step: Removing Wax with Heat and Cloth
Start by gathering your supplies before you begin. You need a heat source like a hairdryer or iron, thick cloths or rags, hot water, and a scraping tool. Having everything ready makes the process faster and less frustrating.
Apply heat to the waxed area for about 30 seconds to 1 minute. Use a hairdryer on medium heat or a warm iron set to low. The goal is to soften the wax without damaging your car seat fabric. Keep the heat source moving to avoid burning the material.
Place a thick cloth directly over the softened wax. The cloth should be large enough to cover the entire affected area with extra room on the sides. This cloth will absorb the melted wax as it transfers away from your seat.
Soak the cloth with near boiling water. Pour the hot water slowly onto the cloth so it penetrates the fabric and reaches the wax beneath. The heat and moisture work together to break the wax’s bond with your car seat.
Let the cloth sit on the spot for 3 to 5 minutes. Don’t rush this step. The wax needs time to fully transfer from your seat into the cloth. You’ll notice the wax beginning to stick to the cloth fibers instead of your upholstery.
Gently drag the cloth away from the wax spot. Use slow, steady motions rather than aggressive scrubbing. Most of the wax should come away with the cloth on the first attempt.
Repeat the process if residue remains. Some stubborn spots need a second or third round of heat and cloth treatment. This is especially true for thick wax buildup or older stains that have set into the fabric.
Finish by wiping the area with a clean, damp cloth. This removes any remaining wax particles and water spots, leaving your seat clean and fresh.
Tackling Stubborn Wax Stains and Residue
Stubborn wax stains require a different approach than fresh spills. These stains have hardened and bonded deeply into your car seat fabric. The longer wax sits, the harder it becomes to remove.
Heat is your best weapon for stubborn residue. A hairdryer works well for gentle, controlled heating. An iron on low heat can also work if you place cloth between the iron and seat. The goal is to soften the wax without damaging your upholstery.
Once the wax softens, use the Velcro method on stubborn spots. The scratchy side of Velcro strips can lift away wax particles that won’t budge with cloth alone. Press gently and drag across the stained area. This works especially well for wax that has started to flake or peel.
For really tough stains, you may need multiple treatment rounds. Heat the area again, then apply a fresh cloth soaked in near boiling water. The combination of heat plus moisture helps break down the wax bond. Let each cloth sit for several minutes so the wax can transfer completely.
Don’t rush the process. Aggressive scrubbing can damage your seat material or push wax deeper into the fibers. Slow, steady pressure works better than force.
If water alone leaves an oily residue, that’s the wax’s oil content. A mild soap and water solution can help with this final step. Wipe gently until the oily feeling disappears.
Heavy buildup with oils may need three or four treatment cycles. Each round removes another layer. Patience pays off here. Your seats will look clean again without permanent damage.
After successful removal, protect your seats going forward. A thick towel placed under future boards prevents new stains from forming.
Preventing Wax Stains Before They Happen
The best way to handle surfboard wax on car seats is to stop it before it happens. Prevention takes far less effort than removal and keeps your interior clean.
Use a protective towel barrier every time you transport your board. Place a thick towel or blanket on your seat before loading the surfboard. This simple step catches wax before it touches the upholstery. The wax sticks to the fabric instead of your seat material.
Fold down your back seats when possible. This gives you more space and reduces contact between the board and your interior. If you have a roof rack or external storage option, use it. Your car stays cleaner and you avoid the problem entirely.
Keep your board wrapped or covered during transport. A board bag or simple cloth wrap prevents wax from transferring during the drive. Movement and vibrations can cause loose wax particles to shift onto seats.
Inspect your board before getting in the car. Run your hand over the surface to feel for excess wax buildup. Brush off loose particles with your hand or a soft cloth. This removes material that could fall onto your seats.
Store your board in a cool location when not in use. Wax stays harder in cool temperatures and doesn’t transfer as easily. Hot garages or sunny spots soften the wax and increase sticking.
Check your seats regularly during surfing season. Small wax spots are easier to handle than large buildup. Quick action prevents stains from setting in.
Develop a routine habit. Always use protection before loading your board. This becomes automatic and saves you cleaning time later. Prevention costs nothing and works better than any removal method. Your car interior stays protected and your seats remain spotless.
Common Mistakes to Avoid When Removing Wax
Removing surfboard wax from car seats requires avoiding several common pitfalls. Understanding these mistakes helps you clean effectively without damaging your upholstery.
Skipping the initial scraping step is a major error. Many people jump straight to heat and water without removing loose wax first. This approach pushes wax deeper into fabric fibers. Always remove what you can by hand or with a plastic scraper before applying heat.
Applying insufficient heat prevents wax from softening properly. The wax needs genuine warmth to become pliable. A quick pass with a hairdryer won’t cut it. You need sustained heat for 30 seconds to a full minute on the affected area. Inadequate heating means the wax stays stubborn and hard to lift away.
Rushing the soaking process reduces your success rate. Some people soak their cloth for only 30 seconds, then expect results. The hot water needs time to transfer heat through the cloth and melt the wax underneath. Give it at least 3 to 5 minutes of contact time.
Using cold or lukewarm water defeats the purpose entirely. Water alone won’t remove wax effectively. You specifically need near boiling water to work with the heat you’ve already applied. Cold water cools everything down and hardens the wax again.
Not using absorbent cloth means wax transfers poorly. Thin cloths don’t absorb melted wax well. Choose thick towels or rags that can hold moisture and actually pull wax away from your seats. Thin materials just spread the problem around.
Forgetting about multiple applications for heavy buildup leaves oily residue behind. Some wax stains need three or four treatment cycles. Don’t assume one attempt will solve everything. Patience and repetition work better than aggressive single efforts.
These mistakes turn a manageable job into a frustrating mess. Stay methodical and you’ll see better results.
Troubleshooting Different Seat Materials
Different car seat materials require different cleaning approaches. Fabric seats, leather seats, and synthetic materials all respond differently to heat and moisture.
Fabric seats are the most forgiving option. The cloth fibers absorb moisture well, which helps transfer melted wax away from the surface. Apply heat gently to avoid damaging the fabric. Use a thick, absorbent cloth during the soaking process. Fabric can handle multiple treatment rounds without deteriorating.
Leather seats need extra caution. Excessive heat can dry out and crack leather permanently. Use lower heat settings on your hairdryer. Keep the heat source at least six inches away from the surface. Test your cleaning solution on a hidden area first. Leather absorbs oils differently than fabric, so residue may linger longer.
Synthetic or vinyl seats fall somewhere in between. These materials resist moisture better than fabric but can become sticky when overheated. Use moderate heat and avoid prolonged exposure. Wipe away moisture quickly to prevent water spots.
Suede or alcantara seats are delicate and require special handling. Never use boiling water on these materials. Apply gentle heat only. Consider using a microfiber cloth instead of standard towels. These premium materials may need professional cleaning for stubborn wax.
Heated seats add another layer of complexity. Turn off seat heating before applying any liquid. Let the seat cool completely before starting treatment. Moisture and electrical components don’t mix well.
Before treating any seat material, check your car’s manual for specific cleaning recommendations. Some manufacturers warn against certain chemicals or heat levels. Test your chosen method on a small, inconspicuous area first. This prevents accidental damage to expensive upholstery.
Different materials simply need different care levels. Knowing your seat type helps you choose the safest removal method.
Final Thoughts
Cleaning surfboard wax off your car seats does not need to feel like a huge task. With a bit of heat, the right cloth, and some patience, you can restore your seats to normal.
The key is acting quickly. Fresh wax comes off much easier than wax that sits for weeks. If you spot a stain, treat it as soon as you can.
Remember that heat is your best friend here. A hairdryer, iron, or hot water all work well to soften wax so it lifts away cleanly. Skipping this step almost always leads to frustration.
Patience matters just as much as technique. Rushing through the soaking process or giving up after one try often leaves oily marks behind. Give the wax time to transfer fully into your cloth before wiping it away.
Every seat material behaves a little differently. Fabric seats forgive small mistakes, while leather and suede need a gentler touch. Always match your method to the material you are working with.
Once your seats are clean, think ahead. A simple towel barrier during future trips can save you from repeating this whole process. Prevention truly is easier than cleanup.
Surfing brings sand, salt, and wax into your daily routine. Your car does not have to suffer for it. With the right habits, you can enjoy your board and keep your seats looking sharp.
In short, tackle wax stains early, use heat wisely, and protect your seats going forward. This simple approach keeps your car clean and ready for your next surf trip.
At the end of the day, a few minutes of care now saves you hours of scrubbing later. Treat your seats well, and they will stay in great shape trip after trip.
Frequently Asked Questions
Will water alone remove surfboard wax from my car seats?
No, water by itself won’t work. Wax is oily and water-based liquids don’t dissolve it. You need heat to soften the wax first, then use hot water to help transfer it to an absorbent cloth. Cold or lukewarm water is especially ineffective. Always apply heat before attempting any water-based cleaning method.
How many times might I need to repeat the cleaning process?
Heavy wax buildup often requires multiple applications. One pass rarely removes everything completely. After your first round, inspect the seat carefully. You may need to repeat the heat and cloth soaking method two or three times. Patience pays off here. Each application removes more residue and oily buildup.
Can I use a regular iron on my car seats?
You can, but caution is essential. Test the iron on a hidden area first. Use a low to medium setting. Never place the hot iron directly on fabric or leather. Instead, use a protective cloth barrier between the iron and your seat. Keep the iron moving constantly to avoid heat damage or burning.
What’s the best way to prevent wax stains in the first place?
Prevention beats removal every time. Place a thick towel on your seats before loading surfboards. Fold down your back seats when possible to create more space. This simple step stops wax from touching your upholstery. It takes thirty seconds but saves you hours of cleaning work later.
Why does wax stick so badly to car seats?
Wax is designed to bond tightly to surfboard surfaces. Your car seats provide similar grip to waxed boards. Friction and temperature changes make the bond stronger over time. This is why acting quickly matters. Fresh wax comes off easier than wax that has sat for days.

Virat is the founder and lead writer at ActivePlayFinds.com, where he shares honest, in-depth reviews, comparisons, and buying guides to help athletes and sports enthusiasts find the perfect gear. With a deep passion for sports and hands-on experience testing a wide range of products, he is committed to helping readers make smart, confident buying decisions.


