
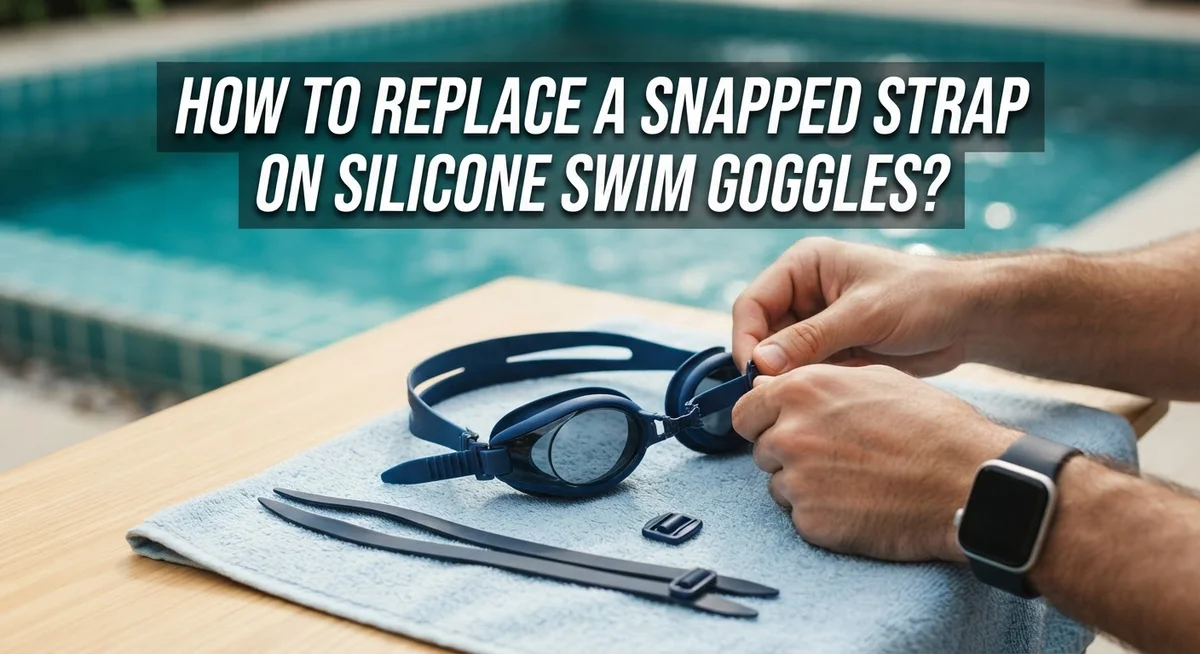
How to Replace a Snapped Strap on Silicone Swim Goggles?
Snap! Your goggles strap breaks right before a swim session. It’s a common problem for swimmers everywhere.
The good news? You don’t need to toss your goggles and buy a new pair.
Fixing a broken strap is easier than you think. With a few simple steps, you can get your goggles working like new again.
This guide walks you through the whole process. You’ll learn how to remove the broken strap safely. We’ll show you how to thread a new one through the clips correctly.
We also cover common mistakes that cause straps to snap in the first place. Pulling too fast or tightening too much often leads to breakage. Knowing this helps you avoid repeat repairs.
Not ready to replace the strap entirely? We’ll touch on quick fixes like stitching, too.
By the end of this article, you’ll know exactly how to swap out a snapped strap. You’ll also learn where to find replacement options and how to adjust them for the perfect fit. Let’s dive in and get those goggles ready for your next swim.
In a Nutshell
Here’s a quick summary before you get started:
-
Unbuckle the strap from the center clip first. This releases tension on both sides.
-
Unthread the broken strap from one side of the frame. Work slowly through the plastic clip section.
-
Thread the new strap through the same path. Follow the exact route the old strap took.
-
Adjust the fit gradually. Pull in small steps instead of yanking it tight all at once.
-
Test for balance. Your goggles should feel snug but not painful around your eyes.
-
No new strap on hand? You can stitch the broken silicone as a temporary fix. It works surprisingly well.
-
Replacement straps are easy to find. Check swim shops or online stores for a quick swap.
That’s the whole process in a nutshell. Grab your goggles and follow along below for full details on each step.
Why Silicone Goggle Straps Snap
Silicone goggle straps snap for several clear reasons. Understanding why helps you prevent future breaks.
Improper adjustment is the biggest culprit. When you pull the strap too fast or too hard during fitting, you stress the silicone material. Silicone is flexible, but it has limits. Yanking the strap quickly can exceed those limits and cause it to tear or snap completely.
Over tightening creates constant pressure. Many swimmers tighten their straps too much for a secure fit. This excessive tension puts ongoing strain on the silicone. Over time, or even immediately, the material fails under that pressure.
Age and wear matter too. Silicone degrades naturally over months and years. Exposure to chlorine, salt water, and sun breaks down the material gradually. An older strap becomes brittle and more prone to snapping, even with normal use.
Temperature changes affect silicone durability. Going from a hot pool deck to cold water, or sitting in the sun between swims, causes the material to expand and contract. This repeated movement weakens the strap fibers.
Improper storage causes damage. Storing goggles in tight spaces or folding the straps sharply creates stress points. These weak spots are where snaps typically occur later.
Poor quality materials fail faster. Budget goggles often use lower grade silicone. This material snaps more easily than premium options.
The good news? Most of these causes are preventable. Adjust straps slowly and gently. Keep tension moderate. Store goggles properly. Handle them with care. These simple habits extend your strap’s lifespan significantly and reduce the chance of unexpected breaks during your swim sessions.
Tools and Materials You’ll Need
Before you start replacing your snapped strap, gather the right tools and materials. You won’t need many items, and most people already have them at home.
First, get a replacement strap. You have several options here. You can buy a silicone strap made for swim goggles. You can also use a bungee cord strap if you prefer extra stretch. Another option is to take a cheap pair of old goggles and use their straps as donors. This works great if you have spare goggles lying around.
Next, grab a small pair of scissors. You’ll use these to trim the old strap if needed. Make sure they’re sharp enough to cut through silicone cleanly. Dull scissors can fray the material and make threading harder.
You’ll want a needle and thread too. Even though you’re replacing the strap, having these handy helps if you need to stitch anything during the process. Use a strong thread that won’t break easily.
Grab a small towel or cloth. This keeps your workspace dry and gives you a clean surface to work on. Wet hands make handling small parts slippery and frustrating.
A pair of tweezers is helpful. Use tweezers to guide the new strap through tight plastic clips on your goggle frame. They give you better control than your fingers.
Finally, have your goggles ready. Make sure they’re clean and dry before you start. This makes the whole job faster and easier.
That’s really all you need. Keep everything in one spot so you don’t waste time searching for tools mid project.
Understanding the Strap and Clip Mechanism
Silicone swim goggles use a simple but effective strap system. The strap threads through plastic clips attached to each side of the goggle frame. These clips hold the strap in place and allow you to adjust the fit around your head.
The center of the strap connects to a buckle or clip mechanism. This central attachment point lets you tighten or loosen the entire strap without unthreading it completely. When you adjust the fit, you’re essentially pulling the strap through this center mechanism.
Understanding how tension works is key to preventing future snaps. The strap experiences stress from two directions: the pull you apply during adjustment and the pressure from wearing the goggles. If you pull too hard or too fast, the silicone can tear or snap at weak points.
The plastic clips serve as anchor points. They guide the strap along the frame and keep it from sliding around. When you remove a broken strap, you’ll unthread it from these clips one section at a time.
Silicone material matters here. It stretches and compresses, which is why it’s comfortable to wear. However, this flexibility also means it can fail under sudden stress or repeated tension cycles. Older straps become brittle and snap more easily than new ones.
The design is intentionally simple. Manufacturers make straps removable so you can replace them without buying new goggles. This modularity saves money and lets you customize your fit over time.
Knowing this structure helps you replace the strap correctly. You’ll understand why each step matters and how to avoid damaging the new strap during installation.
Step-by-Step: Removing the Broken Strap
Start by placing your goggles on a clean, dry surface. You want good lighting so you can see the strap clips clearly.
Look at where the broken strap connects to the center buckle or clip. Most goggles have a plastic clip in the middle that holds both sides of the strap. Gently unbuckle or unclip this center connection point. The strap should separate easily once you release it.
Now focus on one side of the goggle frame. The strap threads through plastic sections or slots along the frame edge. Start unthreading from the side closest to you. Pull the broken strap slowly and steadily out of each clip section.
Work your way along the frame. You may need to use tweezers to help guide the strap out of tight plastic slots. Be patient here because forcing it can damage the clip mechanism.
Once you reach the end of the frame, the broken strap should come free completely. Set it aside.
Check the plastic clips for any damage or debris. Wipe them clean with a dry cloth if needed. This ensures your new strap threads smoothly.
Inspect the clip sections along the entire frame path. Make sure nothing is bent or cracked. If a clip is damaged, your new strap may not stay secure.
Take a moment to understand the threading path. Notice how the strap weaves through each plastic section. This path is important because you’ll follow the exact same route with your replacement strap.
Your goggles are now ready for the new strap. The frame should be clean and the clip mechanism accessible.
Step-by-Step: Threading and Securing the New Strap
Start with your goggle frame positioned on a clean, dry surface. Make sure the center buckle or clip is easily accessible.
Take your new replacement strap and examine it carefully. Check that it matches the length and material type of your original strap. The strap should be flexible silicone that stretches slightly without tearing.
Locate one end of the new strap. Insert it into the first plastic clip section on the goggle frame. Push it through slowly and steadily. Avoid yanking or forcing it, as this can damage both the strap and the clip.
Use your tweezers to guide the strap through any tight sections. This tool helps you navigate narrow clip areas without pinching the silicone material. Work methodically from one side to the other.
Thread the strap all the way along the frame until it reaches the center buckle area. The strap should lie flat against the frame without twisting or bunching. Check that it follows the same path your original strap used.
Connect the strap to the center buckle or clip mechanism. This is usually a simple snap or push fit connection. Make sure it clicks or seats firmly into place.
Now thread the other end of the strap through the plastic clips on the opposite side. Follow the same slow, steady approach you used on the first side. Push it completely through until the strap end reaches the second anchor point.
Secure the second end to its corresponding clip. The strap should now be fully threaded and attached on both sides.
Test the fit gently before swimming. Adjust the tension slowly by pulling each side slightly. This prevents snapping and ensures proper comfort during use.
Getting the Fit Right Without Overtightening
The fit of your swim goggles matters more than you might think. A proper fit keeps water out and prevents discomfort during your swim. The key is finding balance between secure and comfortable.
Start by putting on your goggles without fastening the strap completely. Let the goggle cups sit naturally on your face. The front of each cup should create a light seal around your eyes. You should feel gentle contact, not pressure.
Now fasten the strap at the center buckle. Make it snug enough that the goggles don’t slip, but loose enough that you can fit one finger under the strap at the back of your head. This is your starting point.
Avoid the temptation to pull the strap tight immediately. Many people overtighten because they worry about water leaking in. This actually causes the strap to snap faster and creates unnecessary pressure on your eyeballs.
Instead, adjust the strap slowly and gradually. Tighten it a little bit, then put on the goggles and test them in water or just on your face. Notice if water seeps in at the edges. If it does, tighten slightly more. If the goggles feel comfortable and stay dry, you’ve found your sweet spot.
The strap should feel like a gentle hug, not a vice. Your head shouldn’t ache after wearing them. If you experience discomfort, the strap is too tight.
Remember that different strap materials and goggle brands fit differently. You may need to adjust your technique based on what you’re wearing. Take your time with this process. Patience now prevents snapping later and ensures many comfortable swims ahead.
Common Mistakes to Avoid During Replacement
When replacing a snapped strap on silicone swim goggles, several mistakes can derail your efforts. Understanding what to avoid saves you time and frustration.
Pulling too quickly is the biggest error people make. When you thread a new strap through the plastic clips, resist the urge to yank it fast. Rapid pulling creates tension that can snap the fresh strap before you even wear the goggles. Move slowly and deliberately through each clip section.
Over tightening causes serious problems. Many swimmers believe a tight strap prevents water leaks, so they pull hard during adjustment. This creates excessive pressure on your eyeballs and strains the strap material itself. The strap may snap again within days of replacement.
Improper threading through clip sections leads to uneven pressure. If you don’t follow the exact path the original strap took, the new strap sits at odd angles. This creates weak points where the material bends unnaturally. Always trace the original threading route before installing your new strap.
Ignoring clip damage is another common mistake. After removing a broken strap, inspect the plastic clips carefully. If clips are cracked or sharp, they can cut or fray your new strap. Sand down any rough edges with fine grit sandpaper before threading the replacement.
Skipping the gentle fit test causes disappointment. After threading and securing your new strap, put on the goggles and test them without water. Walk around for a few minutes. If they feel uncomfortable or too tight, adjust before swimming. Multiple adjustment attempts are normal and expected.
Finally, rushing the entire process leads to mistakes. Take your time with each step. Patience during replacement prevents having to start over again.
Troubleshooting Fit and Threading Issues
When your silicone swim goggles have a snapped strap, fit and threading issues often follow. Understanding these problems helps you fix them correctly.
Threading problems occur when the strap doesn’t slide smoothly through the plastic clips. The broken pieces may have left debris inside the frame channels. Clean out any fragments before inserting your new strap. Use a small brush or cloth to wipe the interior path where the strap travels.
One common issue is uneven threading. If you push the strap through only one side first, the frame can twist. This creates tension imbalance. Always thread both ends simultaneously when possible, or thread one complete side before moving to the other.
Fit troubles happen when the strap length doesn’t match your head size. Some replacement straps run shorter or longer than originals. After threading, check if both sides reach the center buckle equally. Mismatched lengths cause the goggles to sit crooked on your face.
Water seepage indicates improper fit. If water leaks in after replacement, the goggles may be too loose. However, resist the urge to yank the strap tight immediately. Tightening too fast snaps new straps just like the old one.
Test your fit by wearing the goggles without entering water first. Press gently on the frame to feel how the strap responds. The goggles should stay in place without pinching your temples. Adjust incrementally over several minutes rather than all at once.
If threading feels stuck, don’t force it. The clip may have bent when the original strap snapped. Inspect the plastic connector for cracks or deformation. Bent clips prevent proper strap seating and cause future failures.
Final Thoughts
Replacing a snapped strap on silicone swim goggles is a simple fix. You don’t need special tools or expert skills. A little patience goes a long way.
The whole process comes down to three things. Careful threading, slow adjustment, and gentle testing. Skip any of these steps and you risk another broken strap.
Silicone straps are tough but they still need proper care. Rushing the job almost always leads to snapping again. Take your time and the new strap will last much longer.
If you don’t have a replacement strap on hand, remember there are other options. Bungee straps work well for many swimmers. Donor goggles can also provide a spare strap if needed.
Some swimmers choose to stitch a broken silicone strap instead of replacing it completely. This can work as a temporary fix, but it won’t feel as strong as a fresh strap.
Comfort matters just as much as function. A strap that fits well keeps water out and keeps your head free from pain. This balance is the real goal of any repair.
Every swimmer’s head shape is different. What works for one person may not work for another. That’s why testing your fit before jumping into the pool is so important.
With the right approach, fixing a snapped strap becomes an easy task. You’ll save money and get back to swimming faster. Most importantly, you’ll have goggles that fit just the way you like.
Take your time, follow each step, and your goggles will feel brand new again.
Frequently Asked Questions
Can I repair a broken silicone strap instead of replacing it?
Yes, you can stitch a broken silicone strap back together. This works well for small tears or clean breaks. Use a needle and waterproof thread to sew the pieces together with tight, even stitches. The repair will hold during swimming if done properly.
However, if the strap is severely damaged or split into multiple pieces, replacement is your better option. A stitched strap may eventually weaken again from water exposure and constant movement.
Why do silicone straps snap in the first place?
Silicone straps break from improper adjustment and excessive tension. When you pull the strap too quickly or tighten it too much, the material experiences stress it cannot handle.
Over time, repeated adjustments and tight fitting wear down the silicone. The material becomes brittle and more likely to snap. Straps also fail when the plastic clips become damaged and pinch the silicone during wear.
How do I know if my replacement strap is the right length?
The best way to test length is to wear the goggles before swimming. Put them on gently and feel how the strap sits on the back of your head.
The strap should feel snug but not tight. You should fit one finger between the strap and your head. If water leaks in during a test, the strap is too loose. If your head feels pressure or pain, the strap is too tight.
What should I do if the new strap won’t thread through the clips?
Stop pulling immediately. Forcing the strap can damage both the strap and the plastic clips.
Check if debris or broken pieces are blocking the clip opening. Clean the clips gently. Then thread the strap slowly and steadily. If it still gets stuck, the clip may be damaged and need replacement.

Virat is the founder and lead writer at ActivePlayFinds.com, where he shares honest, in-depth reviews, comparisons, and buying guides to help athletes and sports enthusiasts find the perfect gear. With a deep passion for sports and hands-on experience testing a wide range of products, he is committed to helping readers make smart, confident buying decisions.