
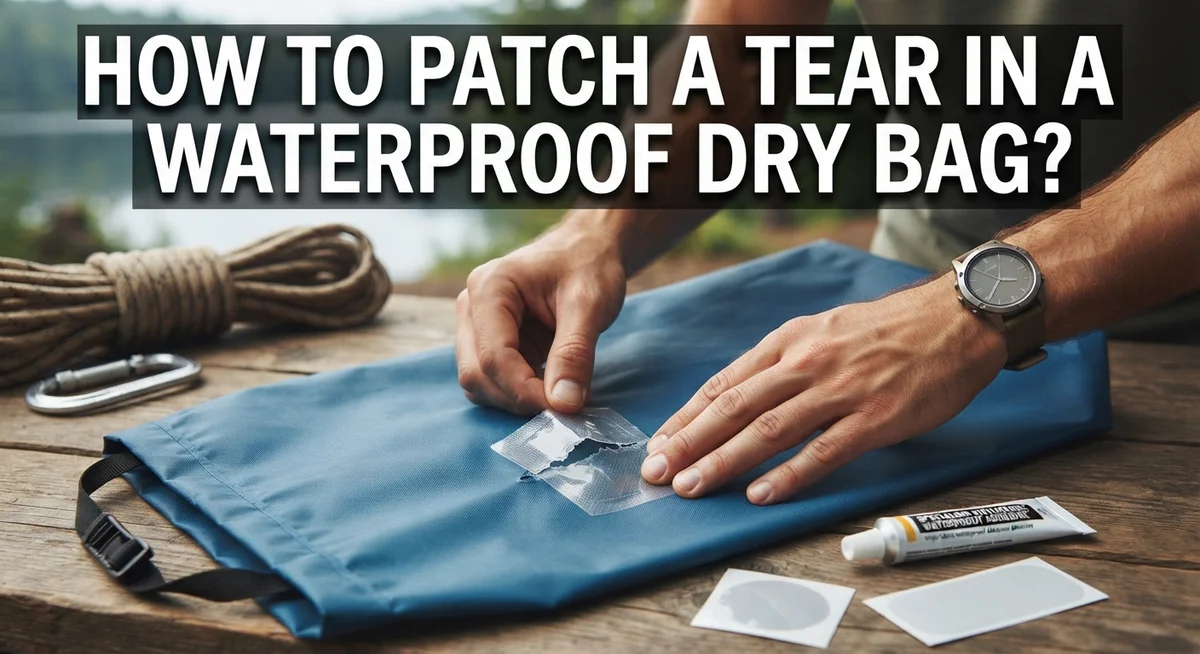
How to Patch a Tear in a Waterproof Dry Bag?
A tear in your dry bag can feel like bad news. Water gets in. Your gear gets wet. Your trip suddenly feels less fun.
But here’s the good news. You don’t need to buy a new bag. Most tears are fixable at home with simple tools and a bit of patience.
This guide walks you through the full repair process. You’ll learn how to clean the damaged area properly. Dirt and oils stop patches from sticking, so this step matters a lot.
We’ll also cover how to apply patches the right way. Round patches work better than square ones. Square edges catch on things and peel off faster.
You’ll discover why patching both sides of the tear makes your repair last longer. One-sided patches often fail under pressure or water exposure.
For bigger tears over an inch long, we’ll show you how to reinforce the patch with seam sealer. This keeps water out even when the damage looks serious.
By the end, you’ll know exactly how to fix your bag and get back outdoors. Your dry bag can work like new again. Let’s get started.
In a Nutshell
Here’s your quick summary for fixing a torn dry bag:
-
Clean first, patch second. Wipe the tear with isopropyl alcohol. This removes dirt and oils so the patch sticks well.
-
Use round patches, not square ones. Round edges resist peeling and tearing better over time.
-
Patch both sides of the tear, inside and outside. This doubles your waterproof protection and makes the repair last longer.
-
For tears bigger than one inch, add seam sealer around the patch edges. Do this on both sides for extra strength.
-
Turn your bag inside out during repair. This lets you apply the interior patch smoothly and evenly.
-
Keep the bag opening compressed and secure while you work. This stops shifting and gives you a cleaner patch job.
Follow these steps, and your dry bag will be ready for your next trip. A little care now saves you from soggy gear later. Small effort, big payoff.
Understanding Dry Bag Materials and Why Tears Happen
Dry bags are made from materials like nylon, PVC, and polyurethane. These fabrics have waterproof coatings that keep your gear dry. Understanding what your bag is made of helps you repair it correctly.
Most dry bags use synthetic materials with a waterproof layer on the outside. The inside stays smooth for easy packing. This two layer design is what makes them waterproof, but it also means repairs need to address both sides.
Tears happen for several reasons. Sharp objects like rocks, sticks, or gear with rough edges can puncture the fabric. Repeated folding and creasing weakens the material over time. Exposure to sun and heat can make the coating brittle and more prone to splitting. Even normal wear from rubbing against your backpack straps causes small rips to grow bigger.
Small punctures might seem minor, but they spread quickly. Water finds the smallest opening and seeps through. A tear that starts at one inch can double in size after a few trips if left unrepaired.
The waterproof coating on your bag is what keeps water out. When a tear breaks through this layer, moisture gets inside. That’s why patching both the outside and inside is so important. You need to seal the tear from both directions to restore full waterproofing.
Different materials need different patch types. Silicone coated fabrics work best with silicone patches. PVC bags respond well to vinyl patches. The patch material should match your bag’s coating for the strongest bond.
Knowing your bag’s material helps you choose the right repair method. Most dry bags use similar repair techniques, but the patch material matters for long lasting results.
Tools and Materials You’ll Need Before Starting
Before you start fixing your dry bag, gather everything you need. Having the right tools makes the repair faster and more successful.
Cleaning supplies come first. You’ll need isopropyl alcohol or rubbing alcohol to clean the tear area. A clean cloth or paper towel works well for wiping. Cleaning removes dirt and oils that prevent patches from sticking properly.
Patch materials are essential. Get waterproof patches designed for your bag’s material. Round patches work better than square ones because square edges tear more easily under stress. Consider silicone coated fabric patches for better waterproofing. You’ll need patches large enough to cover the tear plus at least one inch on all sides.
Seam sealer is important for larger tears. If your tear is bigger than one inch, seam sealer reinforces the patch edges and prevents water from seeping under the patch. This extra step adds durability to your repair.
Prep materials help during application. Masking tape holds the patch in place while it sets. It also protects the bag’s exterior during inside work. A flat surface to work on keeps everything stable.
Optional but helpful items include: A small brush for applying seam sealer evenly, a roller or hard object to press patches down firmly, and a hair dryer on low heat to speed up drying time.
Check your bag’s material before starting. Look at your bag’s label or documentation. Knowing whether it’s nylon, PVC, or polyurethane helps you choose compatible patches. Different materials bond differently with repair products.
Gather all these items before you begin. You won’t need to stop midway through your repair.
Assessing the Tear: Small Damage vs. Large Rips
Before you grab a patch, stop and look at what you’re dealing with. The size of your tear matters because it determines your repair strategy. Small damage and large rips need different approaches.
Small tears are typically less than one inch long. These punctures or minor splits happen easily. You might find them along seams or from sharp objects. Small tears are easier to fix, but don’t ignore them. Water will find even tiny openings and ruin your gear inside.
Large rips are bigger than one inch or run along seams. These tears are more serious and demand stronger repairs. A rip that’s jagged or has multiple directions needs extra attention. Large tears can spread further if you don’t fix them properly.
To assess your damage, clean the area first. Use isopropyl alcohol to wipe away dirt and oils. This helps you see the exact tear size and shape. Look at the tear direction too. Does it run straight or zigzag? Straight tears are simpler to patch. Zigzag tears need larger patches to cover all the damage.
Check if the tear has rough or frayed edges. Rough edges mean the material is damaged beyond the initial split. You’ll need a bigger patch to cover the weakened area.
For small tears, a single patch with seam sealer works fine. For large rips, you need dual sided patches with reinforced seam sealer on both sides.
Feel around the tear to find any hidden damage. Sometimes the rip extends further than you can see. Run your finger along the tear to detect weak spots. Once you know your tear type, you’re ready to patch it properly.
Step-by-Step: Cleaning and Prepping the Damaged Area
Start by examining your tear closely. You need to see exactly what you’re working with before applying any patch. Hold the bag up to light and trace the damage with your finger to find the full extent of the problem.
Clean the tear area thoroughly with isopropyl alcohol or rubbing alcohol. Use a clean cloth and wipe the damaged section multiple times. This removes dirt, oils, and residue that prevent patches from sticking properly. Let the alcohol dry completely before moving forward.
Pay special attention to the edges around the tear. Wipe outward from the damage to ensure you clean a larger area than just the tear itself. A patch needs clean material surrounding it to bond securely.
Once the area is dry, apply masking tape to the outside of your bag around the tear. This tape serves two purposes. It protects the exterior while you work on the interior, and it helps you see exactly where you need to place your patch from the inside.
Now turn your bag inside out carefully. This gives you access to the interior surface where you’ll apply your first patch. Make sure you can see the tear clearly from this angle.
Inspect both sides of the material at the tear. Check if water has already caused any swelling or separation of the layers. If the material feels spongy or separated, you may need extra sealing around your patch.
Keep the damaged area accessible and well lit. Position your bag so the tear sits flat and easy to reach. This setup makes patch application much simpler and ensures better contact between the patch and the bag material.
Step-by-Step: Applying Patches to Both Sides for Maximum Waterproofing
Now you’re ready to apply patches to both sides of your dry bag. This dual sided approach gives you maximum waterproofing and makes your repair last much longer.
Start with the interior side first. Position your round patch directly over the tear on the inside of your bag. Press it down firmly using a roller or hard object. Apply steady pressure across the entire patch surface for about 30 seconds. This helps the adhesive bond properly to the material.
Once the interior patch is secure, flip your bag back to the outside. Apply your exterior patch in the same location, making sure it covers the tear completely. Press down with the same firm, steady pressure for another 30 seconds. The two patches should overlap the damaged area from opposite sides.
Now apply seam sealer around the edges of both patches. Use a small brush to spread it evenly along the patch perimeter on the interior side first. Let this dry according to the seam sealer instructions, typically 24 hours. Then apply seam sealer around the exterior patch edges the same way.
The seam sealer creates a waterproof barrier that prevents water from seeping under the patch edges. This step is especially important for larger tears or repairs near seams.
Keep your bag open and laid flat while everything dries completely. Don’t compress or fold the bag during this time. The adhesive and seam sealer need space to cure properly. Once fully dry, your repair should be completely waterproof and ready for use again.
Sealing the Edges with Seam Sealer and Curing Time
Seam sealer is your secret weapon for keeping water out after you patch your dry bag. This liquid barrier stops moisture from sneaking under the patch edges where they meet the fabric.
Apply seam sealer around the perimeter of your patch on both the inside and outside of the bag. Use a small brush to spread it evenly in a thin line. Don’t glob it on thick. A consistent, moderate layer works better than excess product.
Start at one corner and work your way around the entire patch edge. Make sure the sealer contacts both the patch material and the bag fabric. This creates a continuous waterproof seal that locks everything together.
Pay extra attention to corners and edges where the patch ends. These spots are vulnerable to water penetration. Take your time here and apply a slightly thicker bead of sealer if needed.
After you apply seam sealer to the interior patch, flip your bag and repeat the process on the exterior side. Consistency matters. Use the same technique and coverage on both sides for uniform protection.
Curing time is critical. Most seam sealers need 24 hours to fully cure, though some products work faster. Check your sealer’s instructions for exact timing. Don’t rush this step or your repair will fail when you use the bag.
Keep your bag laid flat and open during curing. This allows air to circulate around the sealed edges. Avoid bending, folding, or stressing the patched area while it dries.
After the full curing period passes, test the seal by running your finger around the edges. The sealer should feel smooth and bonded to both surfaces. Your patch is now ready for water.
Testing Your Repair for Leaks Before Your Next Trip
Before your next adventure, you need to confirm your repair actually works. Water leaks destroy gear and ruin trips, so testing prevents disasters.
Fill your dry bag with water and seal it completely. Use enough water to create weight and pressure inside. This mimics real conditions you’ll face outdoors. Let the bag sit for several hours or overnight if possible.
Place the bag over a clean, dry surface like a towel or newspaper. Position it so the repaired area faces downward. Water naturally flows toward weak spots, so gravity helps reveal any failures. Check underneath frequently for drips or moisture.
Pay close attention to the seam sealer edges. These areas fail most often because water finds tiny gaps. Look for water beading up on the patch surface. Beading means your seal is working properly.
Inspect the interior carefully too. Open the bag and feel inside around the repair. Any dampness indicates your patch didn’t hold. Even slight moisture means you need additional sealing work.
If water appears, don’t panic. Let everything dry completely. Apply another layer of seam sealer around the patch edges. Wait for full curing time before testing again.
Test in a controlled environment, not during your actual trip. A failed repair on the water is dangerous and stressful. Catching problems at home saves you from soggy sleeping bags and ruined electronics.
After successful testing, your repair is ready. Mark the repair location in your memory. During your trip, check that area occasionally for any new leaks. Regular inspections catch problems early before they spread.
Common Mistakes That Cause Repairs to Fail
Repairing a dry bag patch sounds simple, but several mistakes can ruin your work. Understanding these errors helps you avoid wasting time and materials.
Skipping the cleaning step is the biggest mistake people make. Dirt, oils, and residue on your bag prevent patches from sticking properly. Even a thin layer of grime creates a barrier between the patch and the material. Your repair fails because the adhesive never bonds correctly. Always clean the tear area with rubbing alcohol before you start anything else.
Applying patches to only one side causes most repairs to fail quickly. Water finds the unpatched side and seeps underneath. Your bag leaks again within days. Both sides need coverage for true waterproofing. This doubles your work, but it’s the only way to stop leaks permanently.
Square edged patches tear more easily than round ones. The sharp corners concentrate stress on small points. When your bag flexes during use, those corners lift and separate. Round patches distribute pressure evenly across the entire edge. They stay sealed much longer.
Rushing the curing process ruins repairs too. Seam sealer needs full time to harden and bond. Opening your bag too early or using it before everything dries completely breaks the seal. Patience matters here.
Poor compression during repairs also causes problems. If your patch doesn’t make full contact with the bag material, gaps remain underneath. Air pockets prevent the adhesive from working. Press firmly and hold the patch in place for the recommended time.
Finally, using low quality or mismatched patch materials fails frequently. The patch material must match your bag’s composition and flexibility. Incompatible materials don’t bond properly and separate when stressed.
Final Thoughts
Patching a dry bag tear does not need to feel hard. You just need patience and the right steps.
Clean surfaces make every repair stronger. Skip this step, and your patch will peel off fast.
Always patch both sides of the tear. This doubles your protection against water and pressure.
Round patches beat square ones every time. They spread out stress and resist peeling at the edges.
Seam sealer acts like a shield around your patch. It blocks tiny gaps where water tries to sneak through.
Curing time matters more than most people think. Rushing this step often ruins an otherwise perfect repair.
Testing your bag before a trip saves you from surprises later. A quick water test shows if your patch actually holds.
Small tears and large tears need slightly different care. Bigger tears demand extra reinforcement on both sides.
Mistakes happen, but they are easy to avoid. Clean well, patch both sides, and let everything cure fully.
Your dry bag protects gear you care about. A solid repair keeps that gear safe on every trip.
Think of patching as a skill you build over time. Each repair teaches you something new about your gear.
With the right materials and a little patience, your dry bag can last for years. Small efforts now save big headaches later.
So next time you spot a tear, do not panic. Clean it, patch it, seal it, and test it.
Your bag will thank you on the next adventure. And you will trust it completely when water gets rough.
Frequently Asked Questions
Can I patch a tear that’s bigger than one inch?
Yes, you can patch larger tears. The key difference is that you must use dual sided patches with seam sealer reinforcement. Clean the area first with rubbing alcohol. Apply patches to both the inside and outside of your bag. Use seam sealer around all patch edges on both sides. This extra step prevents water from sneaking under the patch edges.
What shape should my patch be?
Round patches work better than square ones. Square edges have sharp corners that concentrate stress on small points. Those corners tear more easily over time. Round patches distribute pressure evenly across the entire edge. This simple choice makes your repair last much longer.
Do I need to patch both sides of the tear?
Yes, absolutely. Patching only one side causes most repairs to fail quickly. Water finds its way under the single patch. Always apply patches to both the interior and exterior surfaces. This dual approach creates a complete seal that actually stops leaks.
What should I use to seal the patch edges?
Seam sealer acts like a protective shield around your patch. Apply it around all edges on both sides of your bag. This prevents water from seeping under the patch corners. Let the seam sealer cure completely before testing. The curing time varies by product, so check the instructions.
How do I know if my repair actually works?
Fill your dry bag with water and seal it completely. Place it over a clean, dry surface like a towel. Wait and watch for any drips. Check the seam sealer edges carefully. Inspect the interior too. If no water appears, your repair is ready for your next trip.

Virat is the founder and lead writer at ActivePlayFinds.com, where he shares honest, in-depth reviews, comparisons, and buying guides to help athletes and sports enthusiasts find the perfect gear. With a deep passion for sports and hands-on experience testing a wide range of products, he is committed to helping readers make smart, confident buying decisions.


